After looking at all of the cool projects on this website, you may want to create a book of your own. This guide is here to help. We'll show you have to make a codex with a Coptic binding.
We will be creating a codex with multiple quires.
If you want to start with a simpler project, you can check out how to make a single quire codex here: Single-quire-codex
Materials
For this project you will need: (Clockwise from the top left) a bone-folder, ruler, an awl, wax, thread, a curved needle, a pencil, scissors, a weight (optional), Paper, and two pieces of cardboard or card-stock.
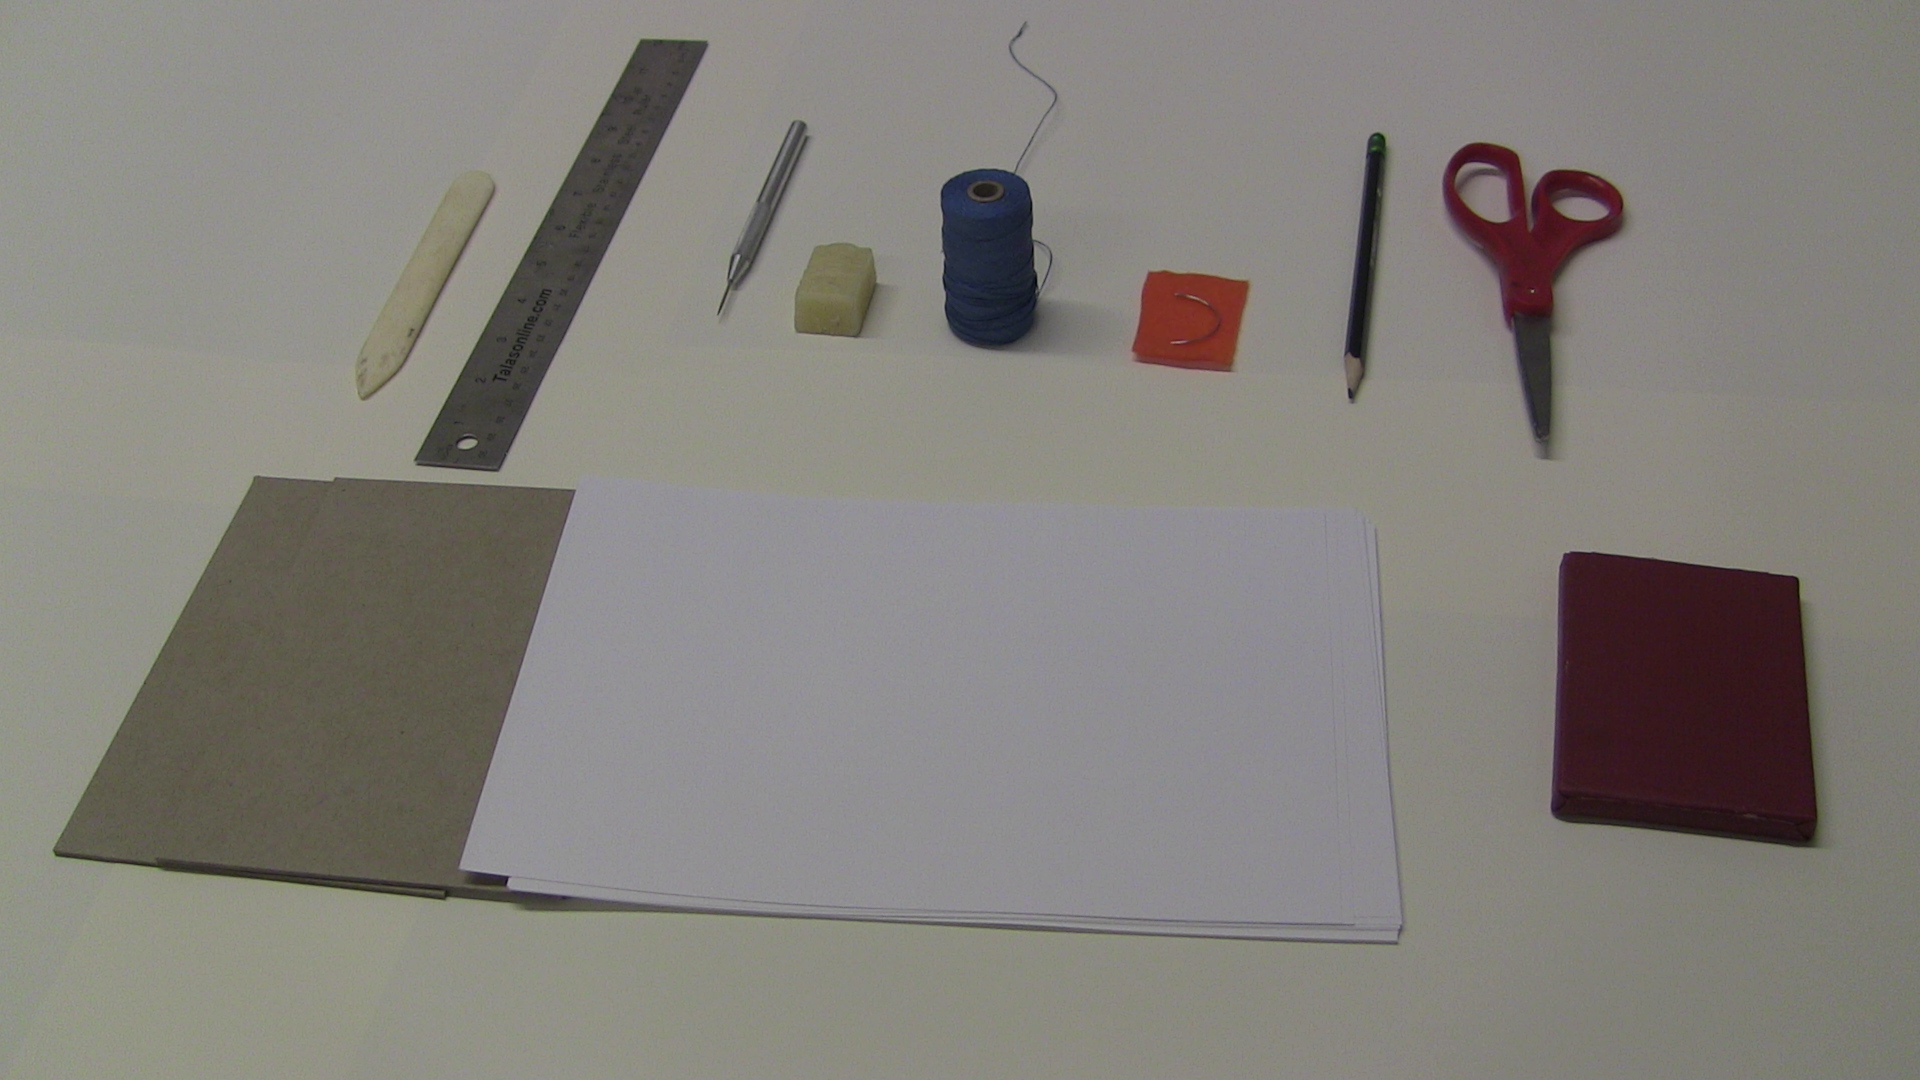
Instead of getting thread and wax separately, you can also get waxed thread.
The project can also be done with a straight needle, but will be a bit more difficult.
If you don't have a bone-folder, any long blunt object will work, such as a butter-knife.
For this project our pieces of paper will be 7'' x 10'' and our two cardboard covers will be 7'' x 5''.
Step 1: Creating quires
A quire is a set of folded sheets of paper that are nestled inside of each other.
A typical quire would contain 4 sheets of paper to make 16 pages, but you may pick however many sheets you want, as long as you can fold them.
We will be using 4 sheets per quire.
To create a quire, first take 4 sheets of paper

align them

Fold them in half

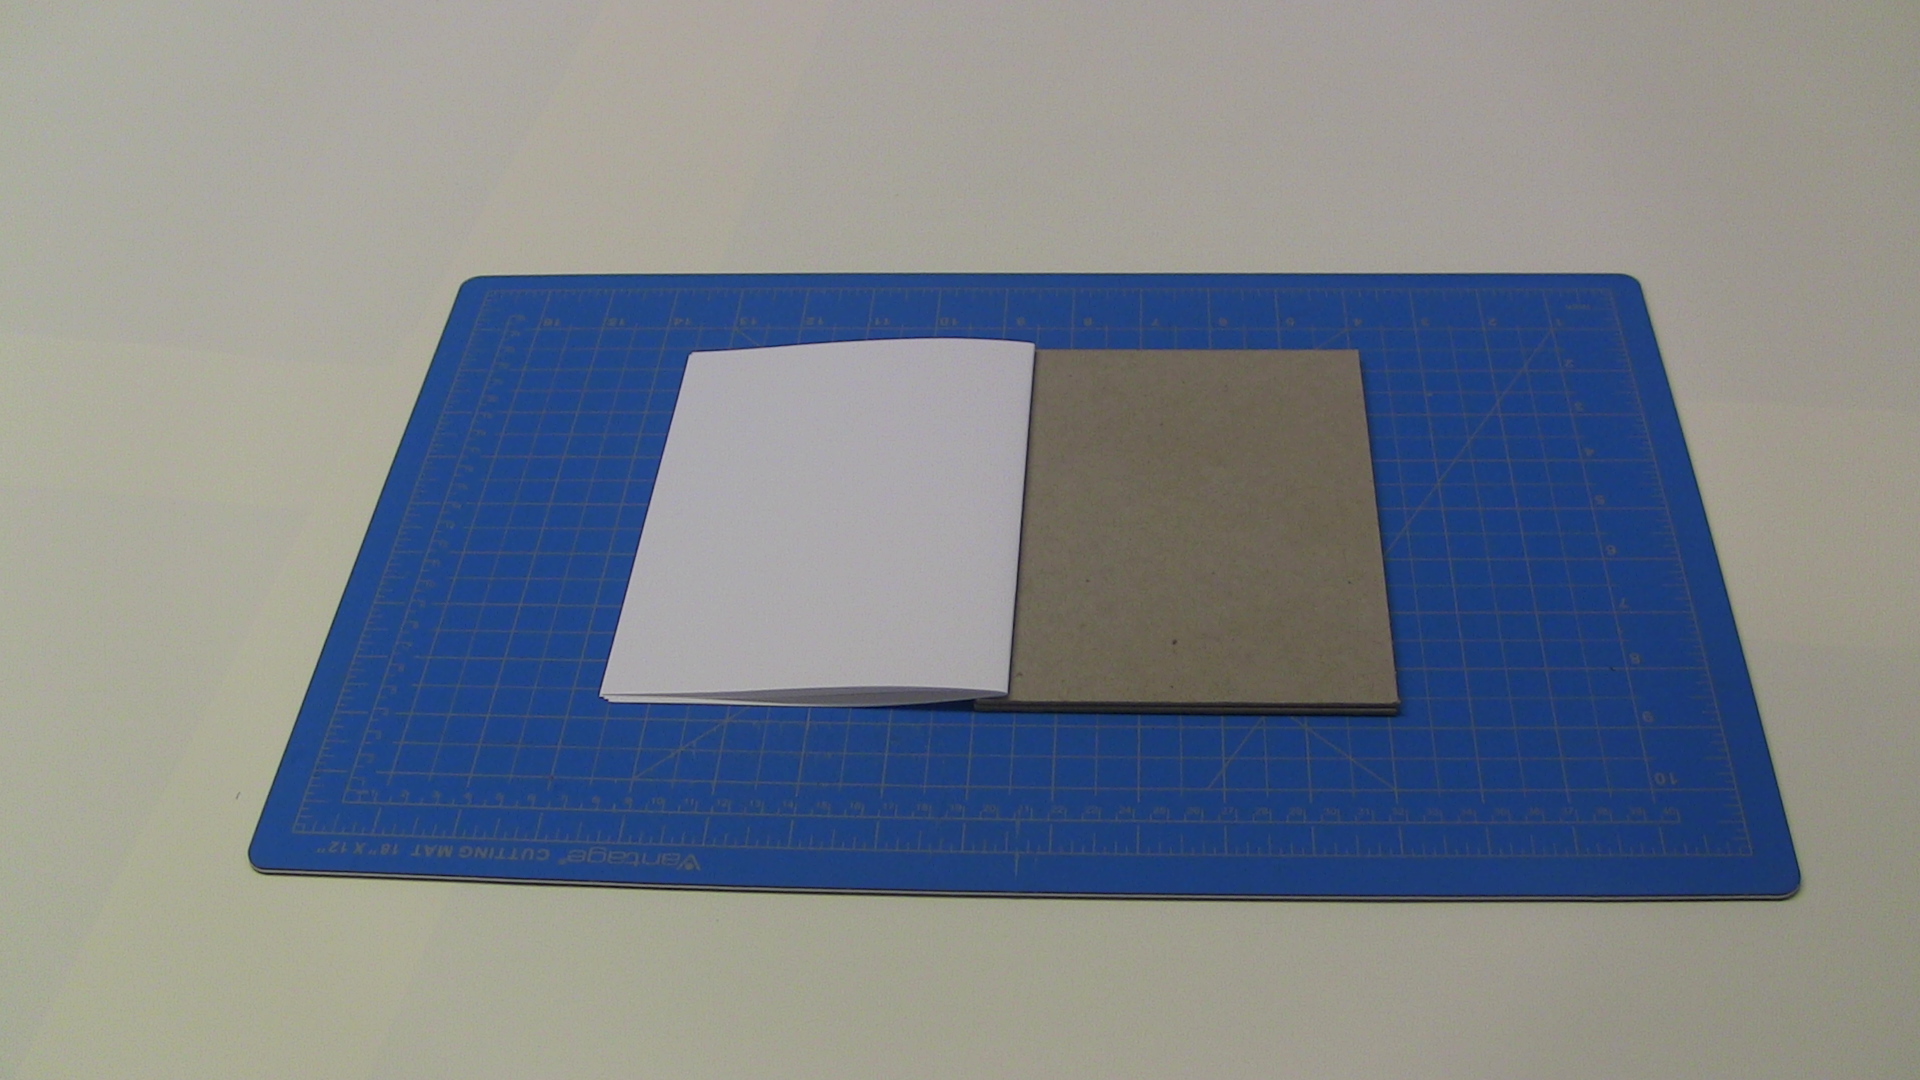
Fold the short end over, so that we will end up with pages of dimension 7'' x 5''
Now take the bone-folder and run in over the fold to flatten it.

Run it over a couple times on both sides
If we look at the end of the pages, we may see that pages closer to the center stick out more.
This is called creep, and you may decide to cut it off.

You may construct as many quires as you want, but it is recommended to have at least five.
We will be using 5 quires.

Step 2: Preparation
Take the two sheets of cardstock and align them.
We want our holes to be a quarter-inch away from the edge of the cover. Measure out a quarter-inch away from the side that will align with the folded edge of the quires.
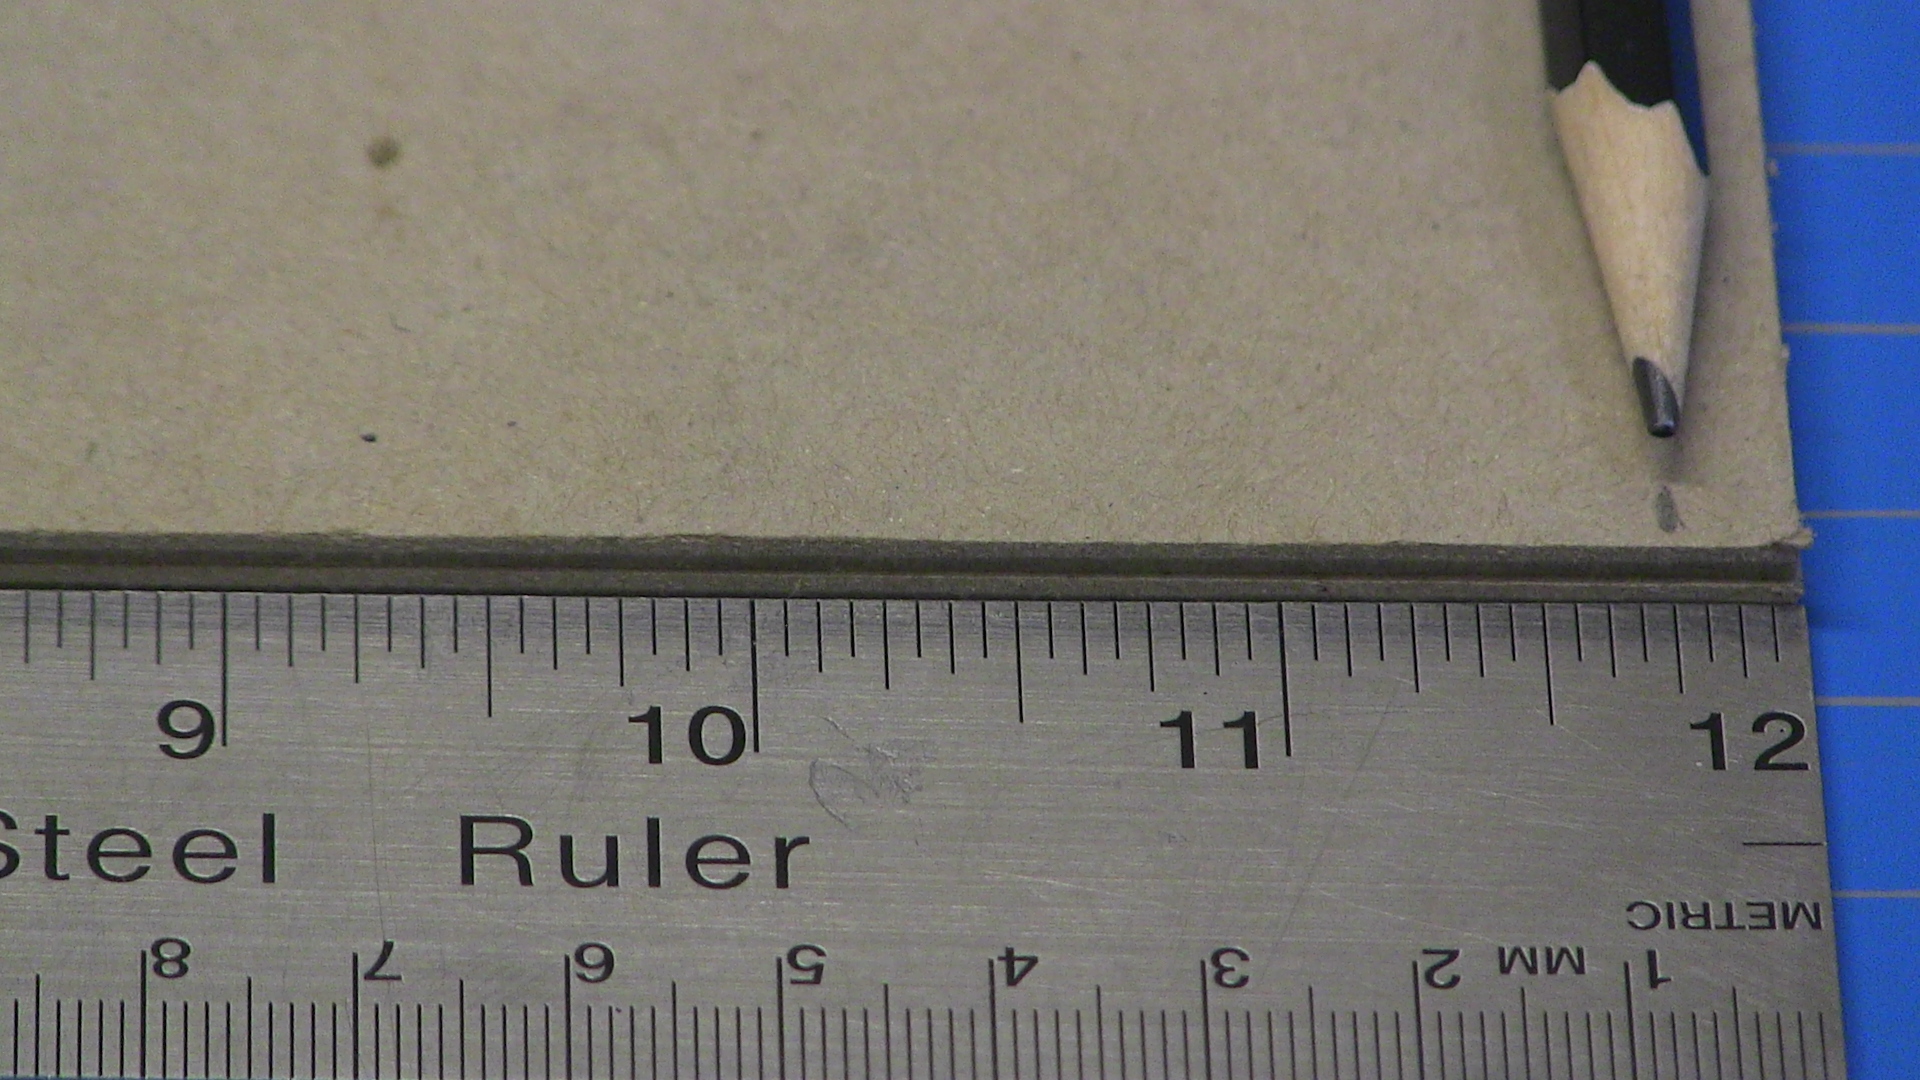
Make two marks, an inch away from both sides.

Make two more marks, two and a half inches away from both sides.

Use the awl to create holes at each mark.

This we be where we sew the quires onto the covers.
Now take the quires.
For each quire open it up to the center.
Make marks in the middle with the same spacing from the sides as the covers.
You can do this by either measuring, or aligning the quire with one of the covers.

Use the awl to create holes at each mark.

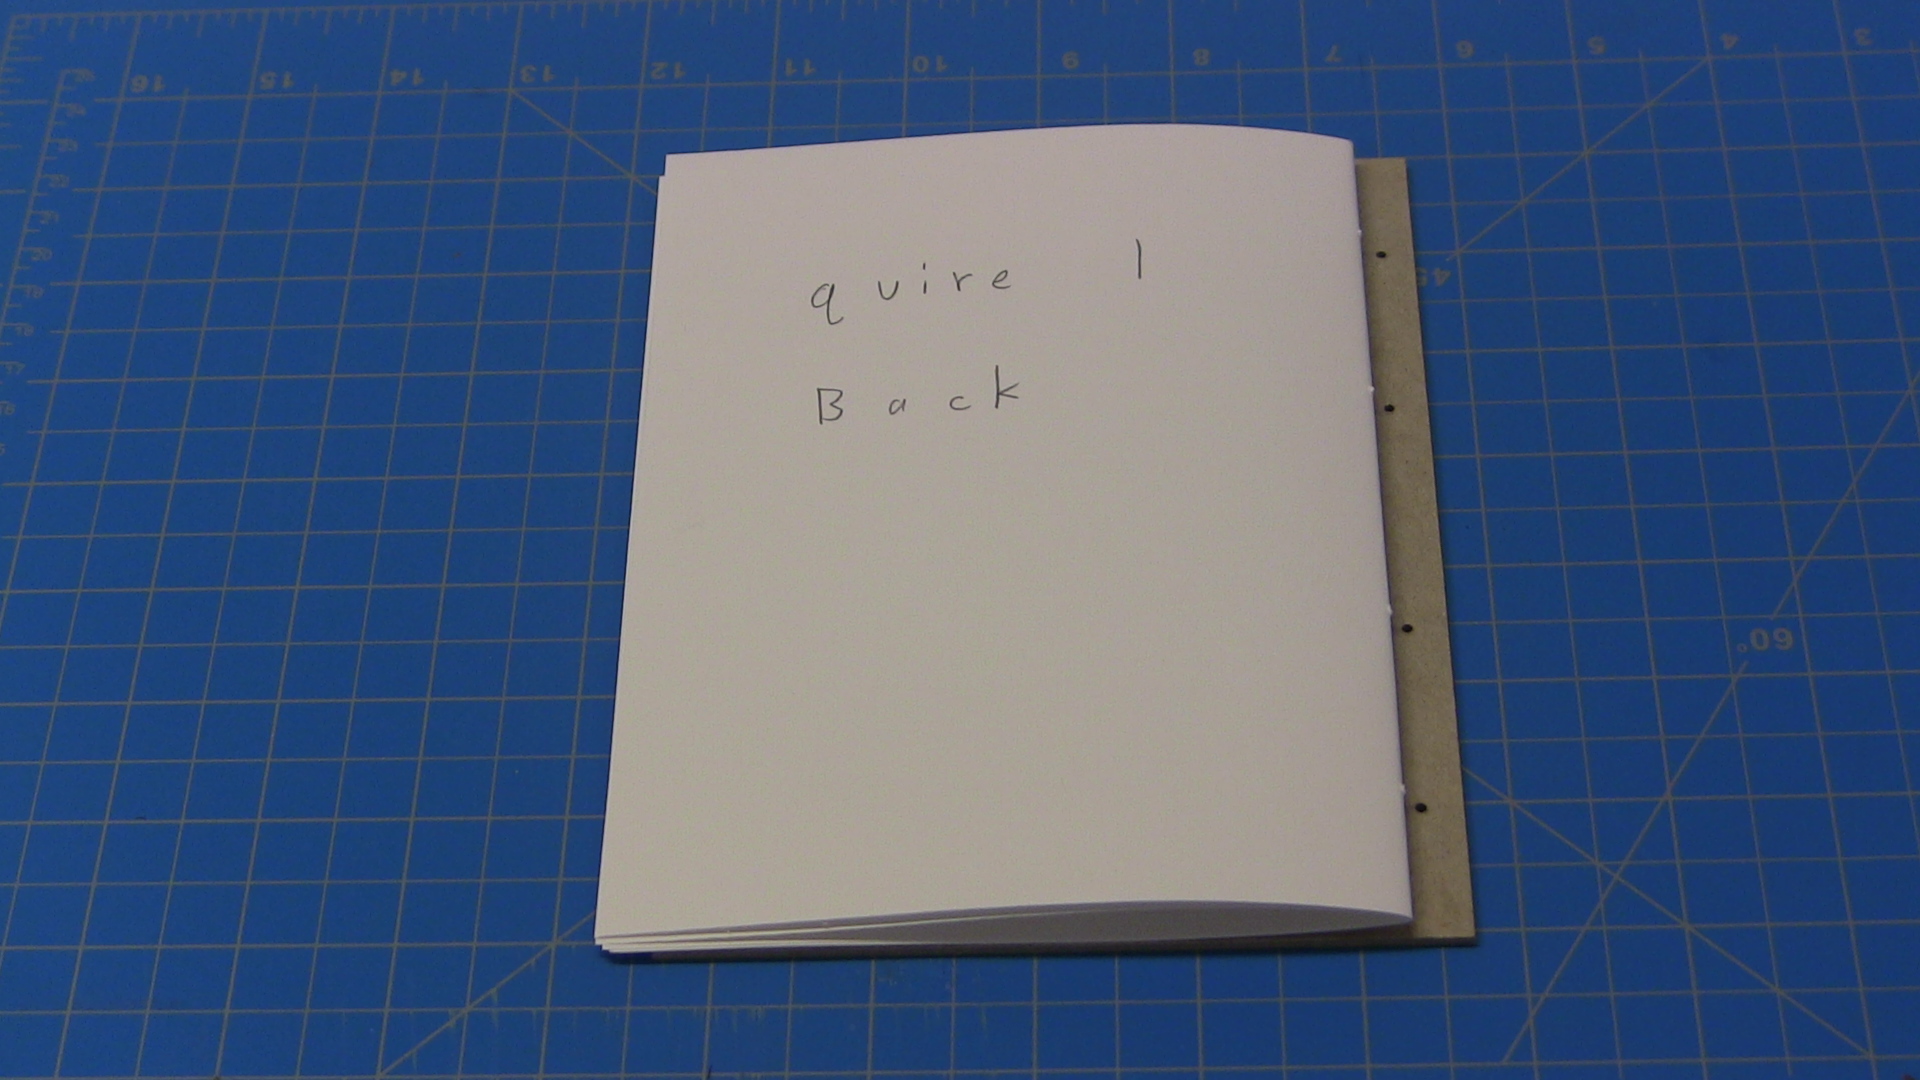
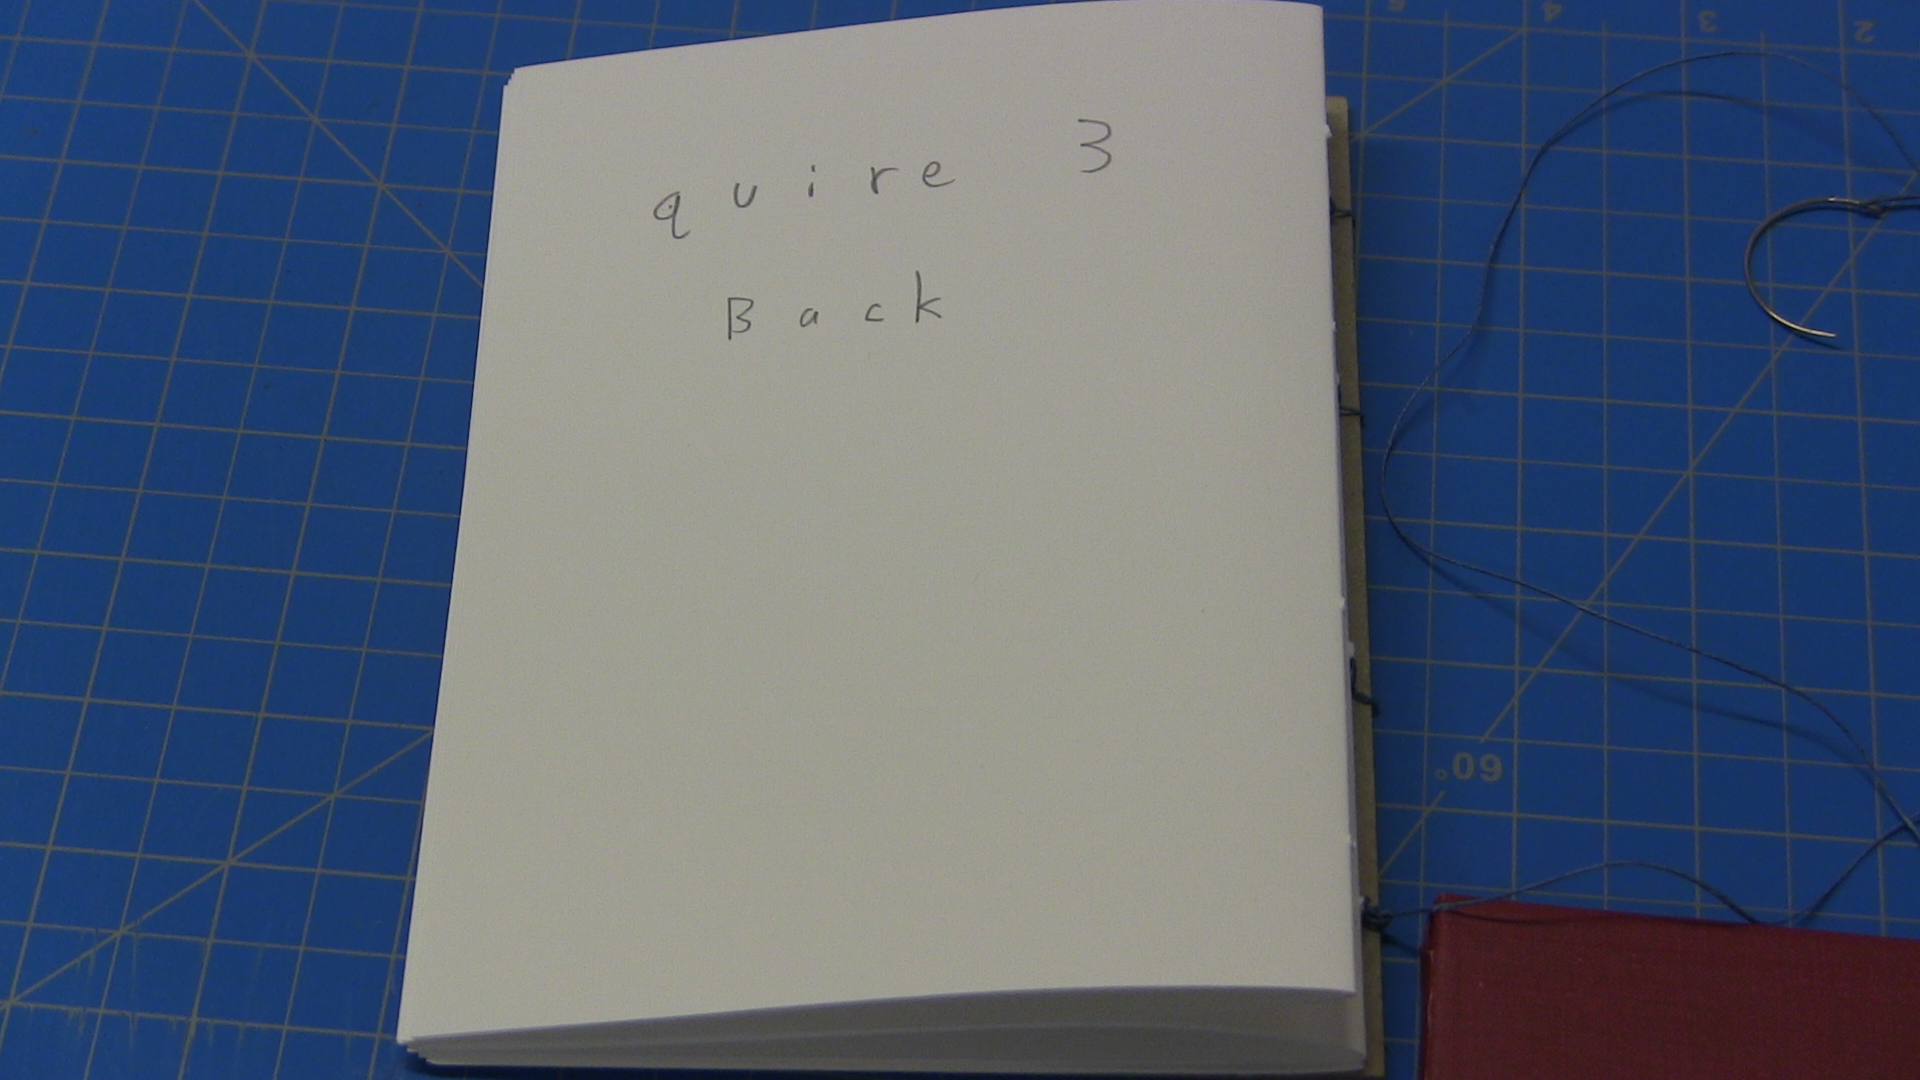
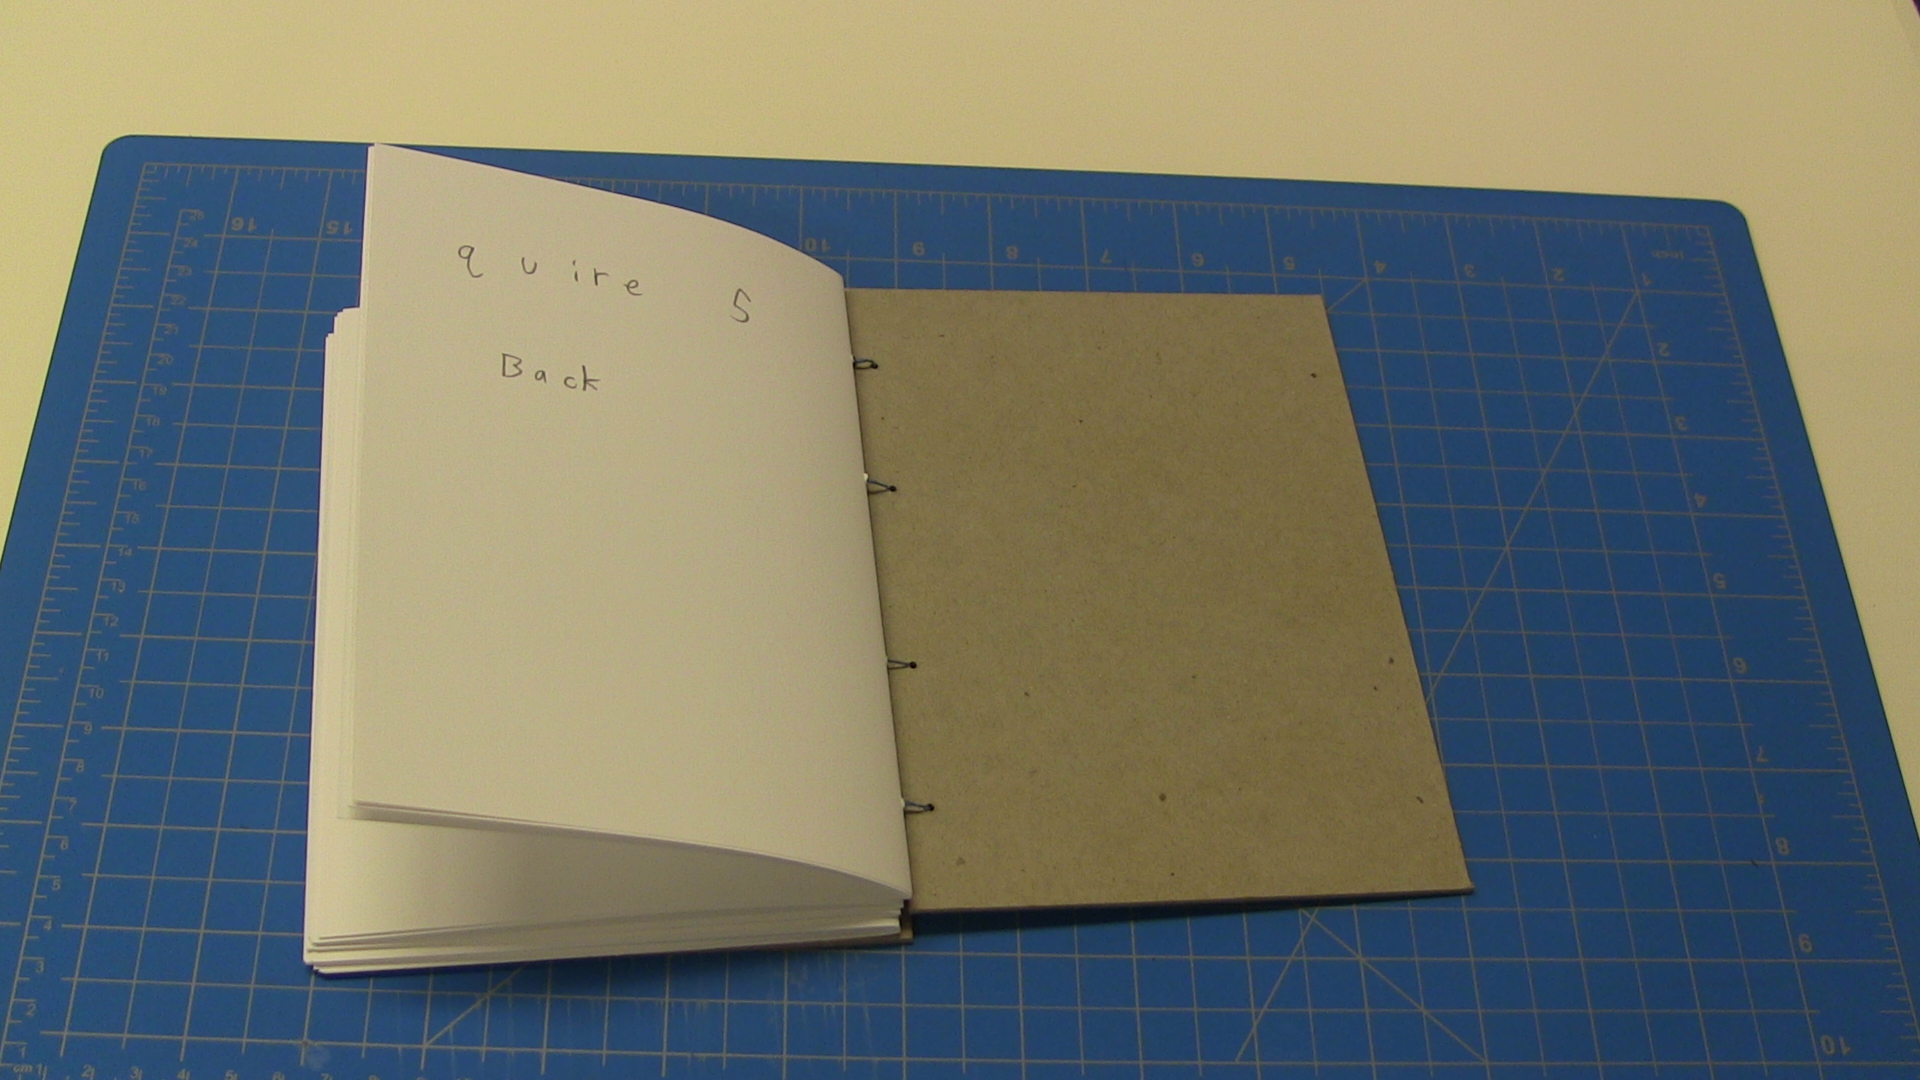
At this point, you may choose to write on your quires.
If you choose to write on your quires at this point in the process, you will need to keep track of the order of the quires, and the front and back page of each quire.

Now take your thread and cut off a piece that is as long as the length of the folded sides times one more than the number of quires you want to include. It is alright if your thread ends up too short, as you can cut more later and tie it on.
Here the length of the folded sides of the quires is 7 inches, so our piece of thread will be about 42 inches long.
Once you have your piece of thread, take one of the ends and hold it against the wax.

Now pull the thread, so that the entire length goes through the wax.
Do this a couple times from both ends of the thread.
If you have waxed thread, you can skip this step.
Now thread the needle with a couple inches left on one side.

Take the short end and use the needle to push through it.
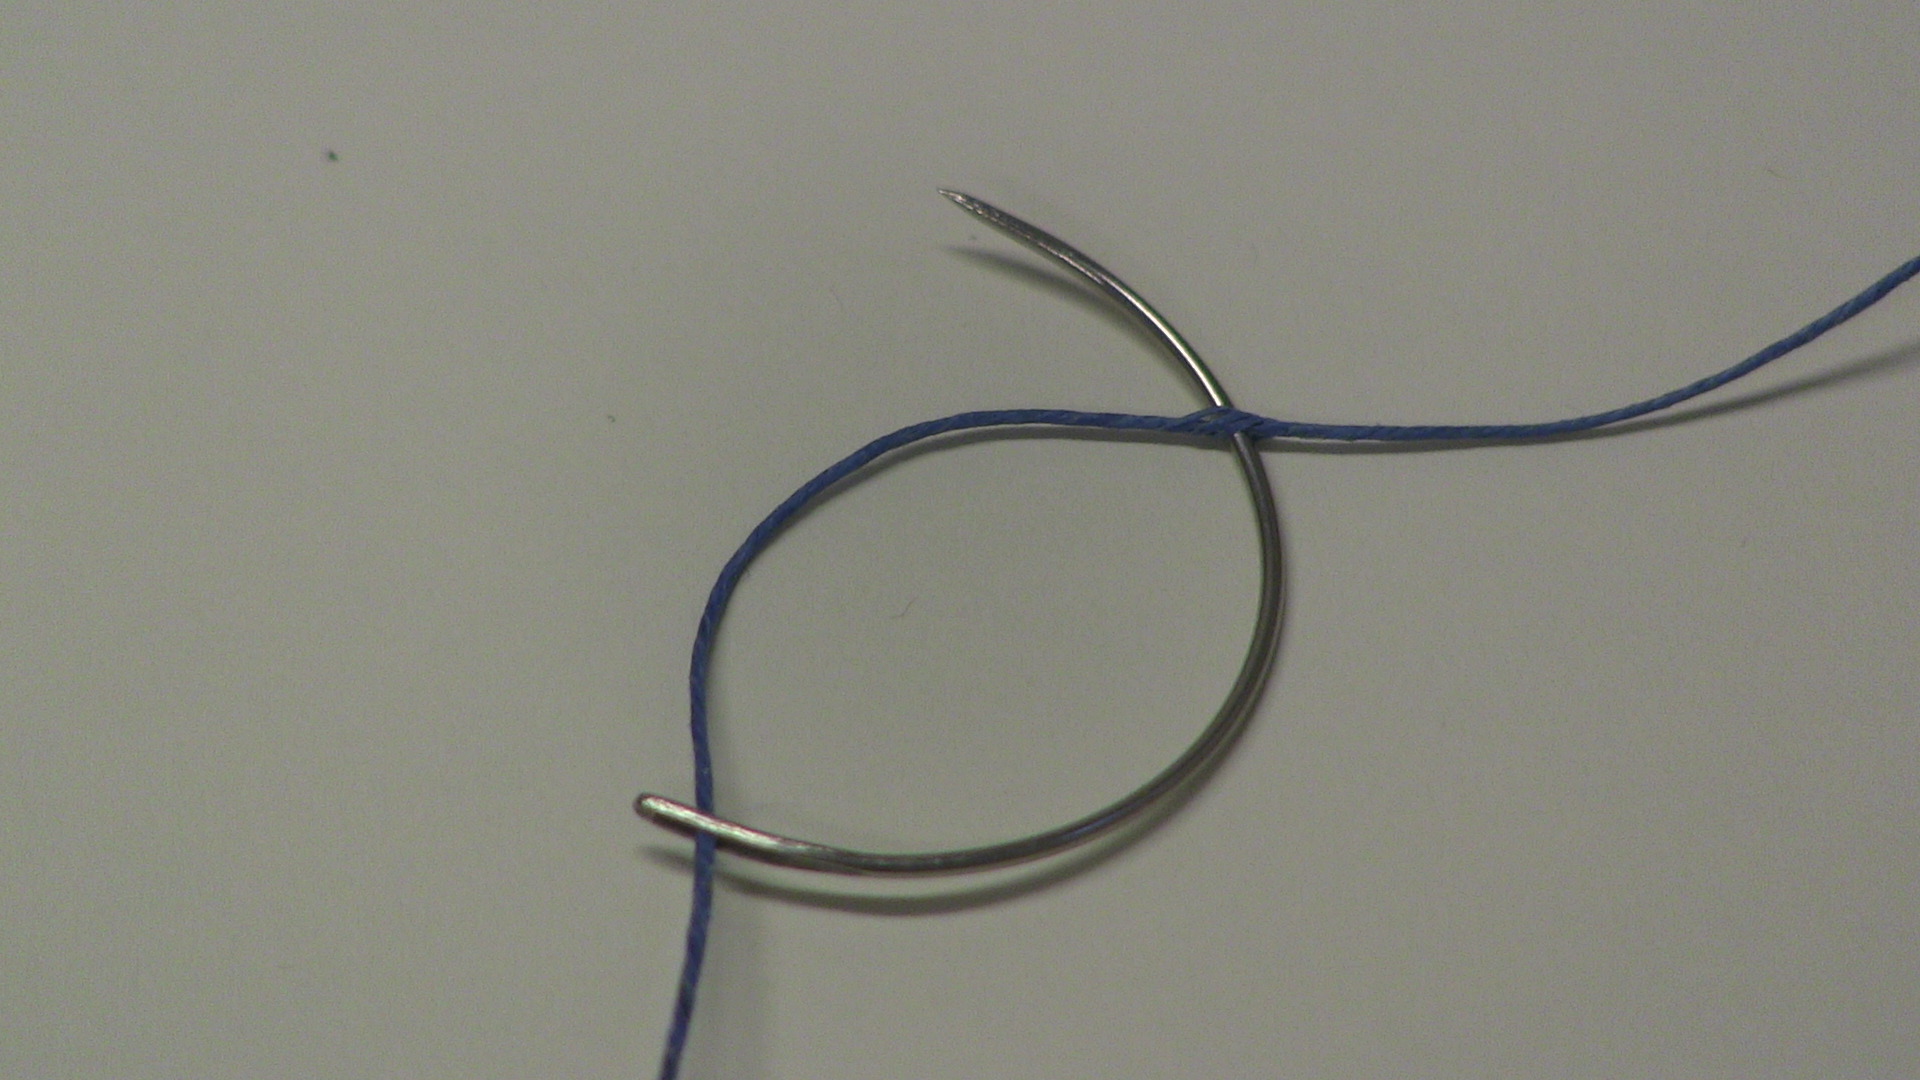
Now pull on the short end until the hole passes the head of the needle.

Now take the long end, and pull until taut.

Now we don't have to worry about the thread slipping out.
Step 3: Attaching the first quire
Now take your first quire and place the front against one of the covers, so that the folded edge aligns with the side of the cover with holes.
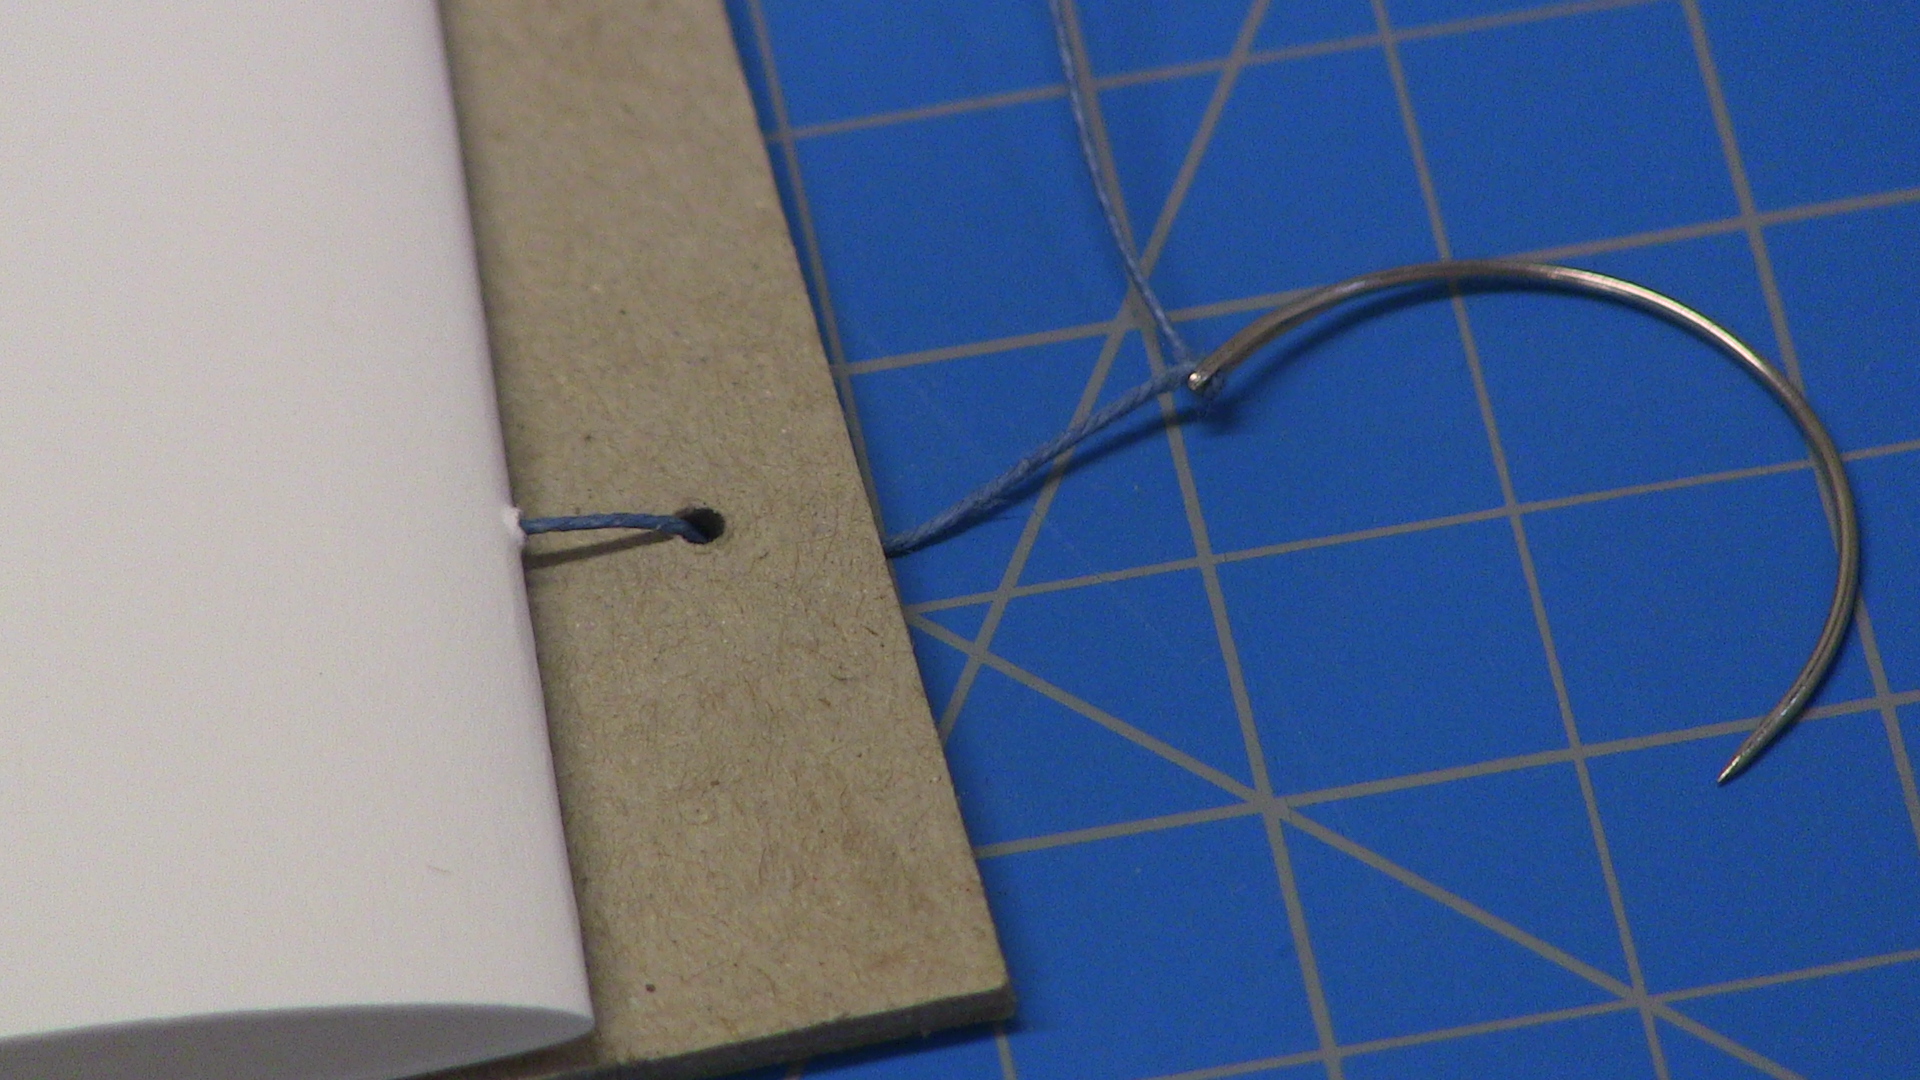
Open the quire to the middle, and thread the needle through the bottom hole of the quire.

Now thread the needle through the corresponding hole of the front cover.
We will now thread the needle through the gap between the front cover and the first quire, in the direction of the next stitch.
Thus we will have the needle come up from the right side of the hole, and move through to the left.
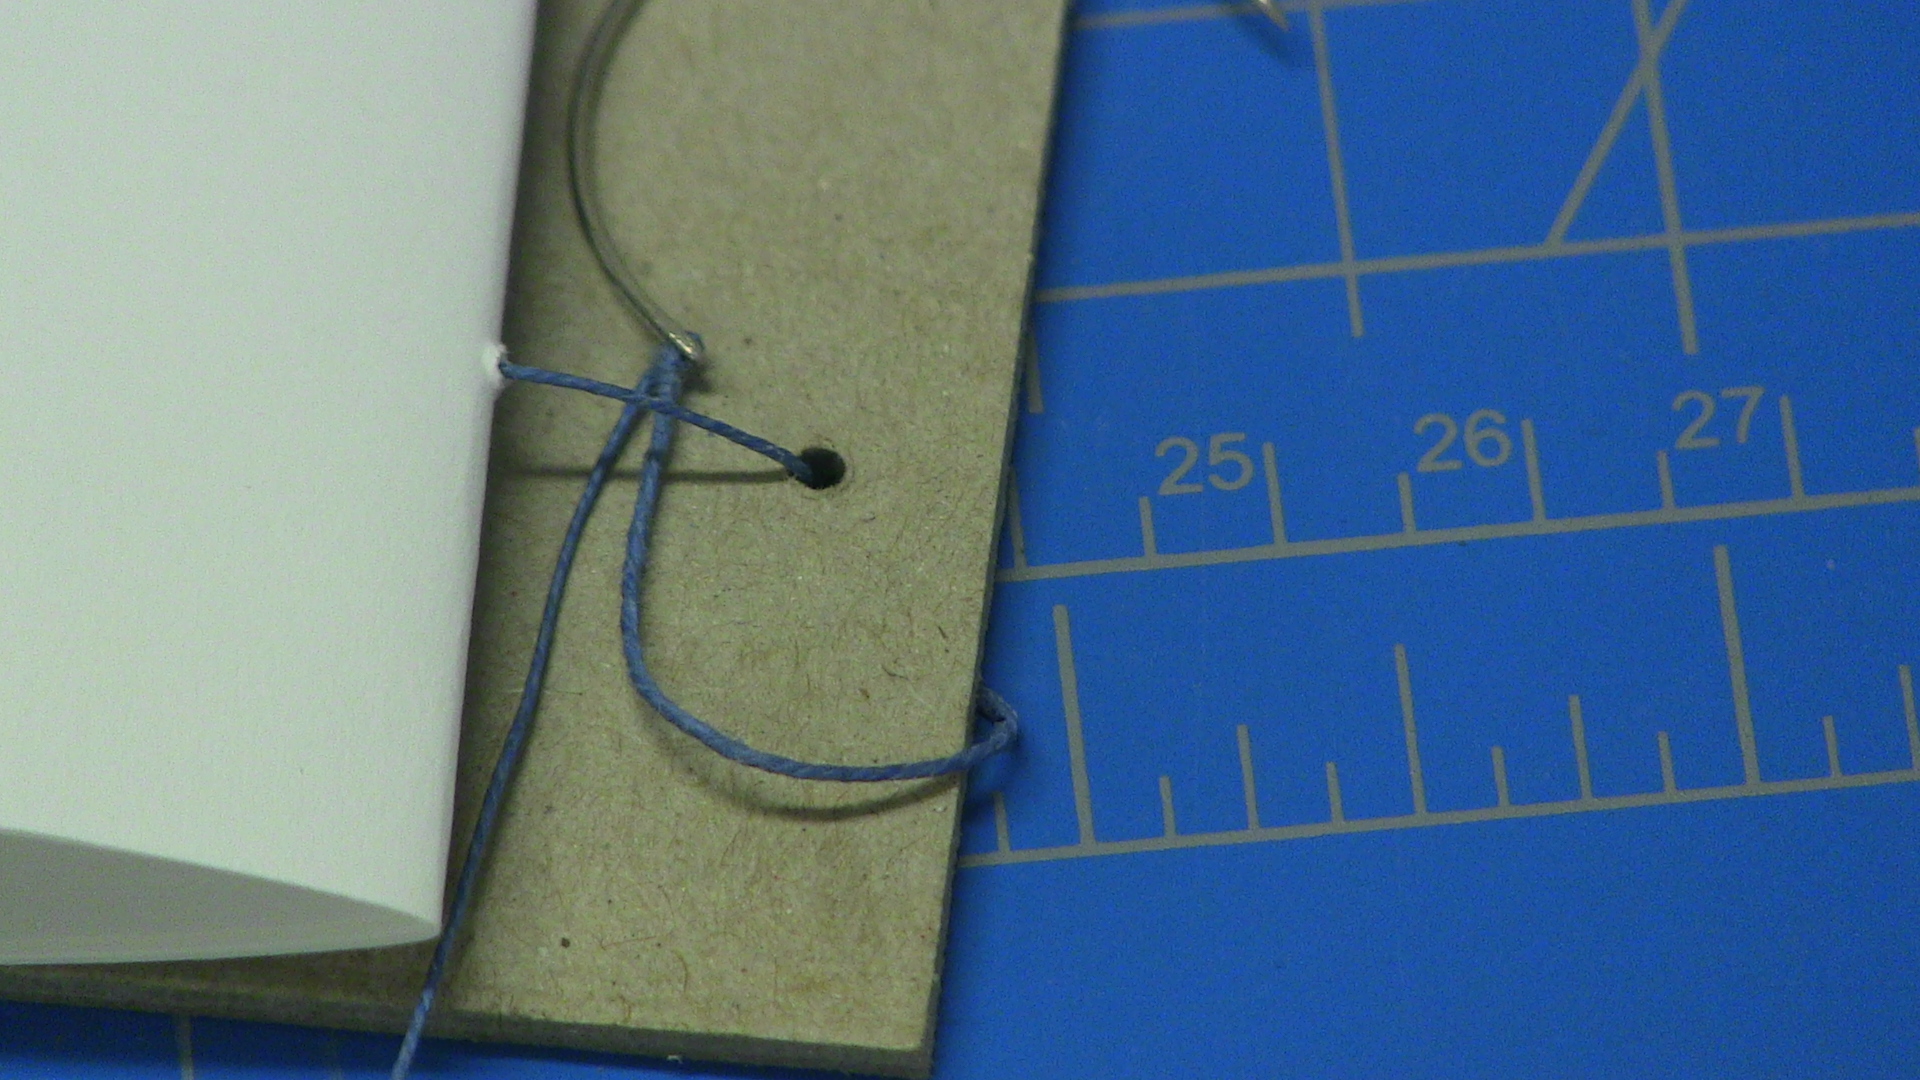
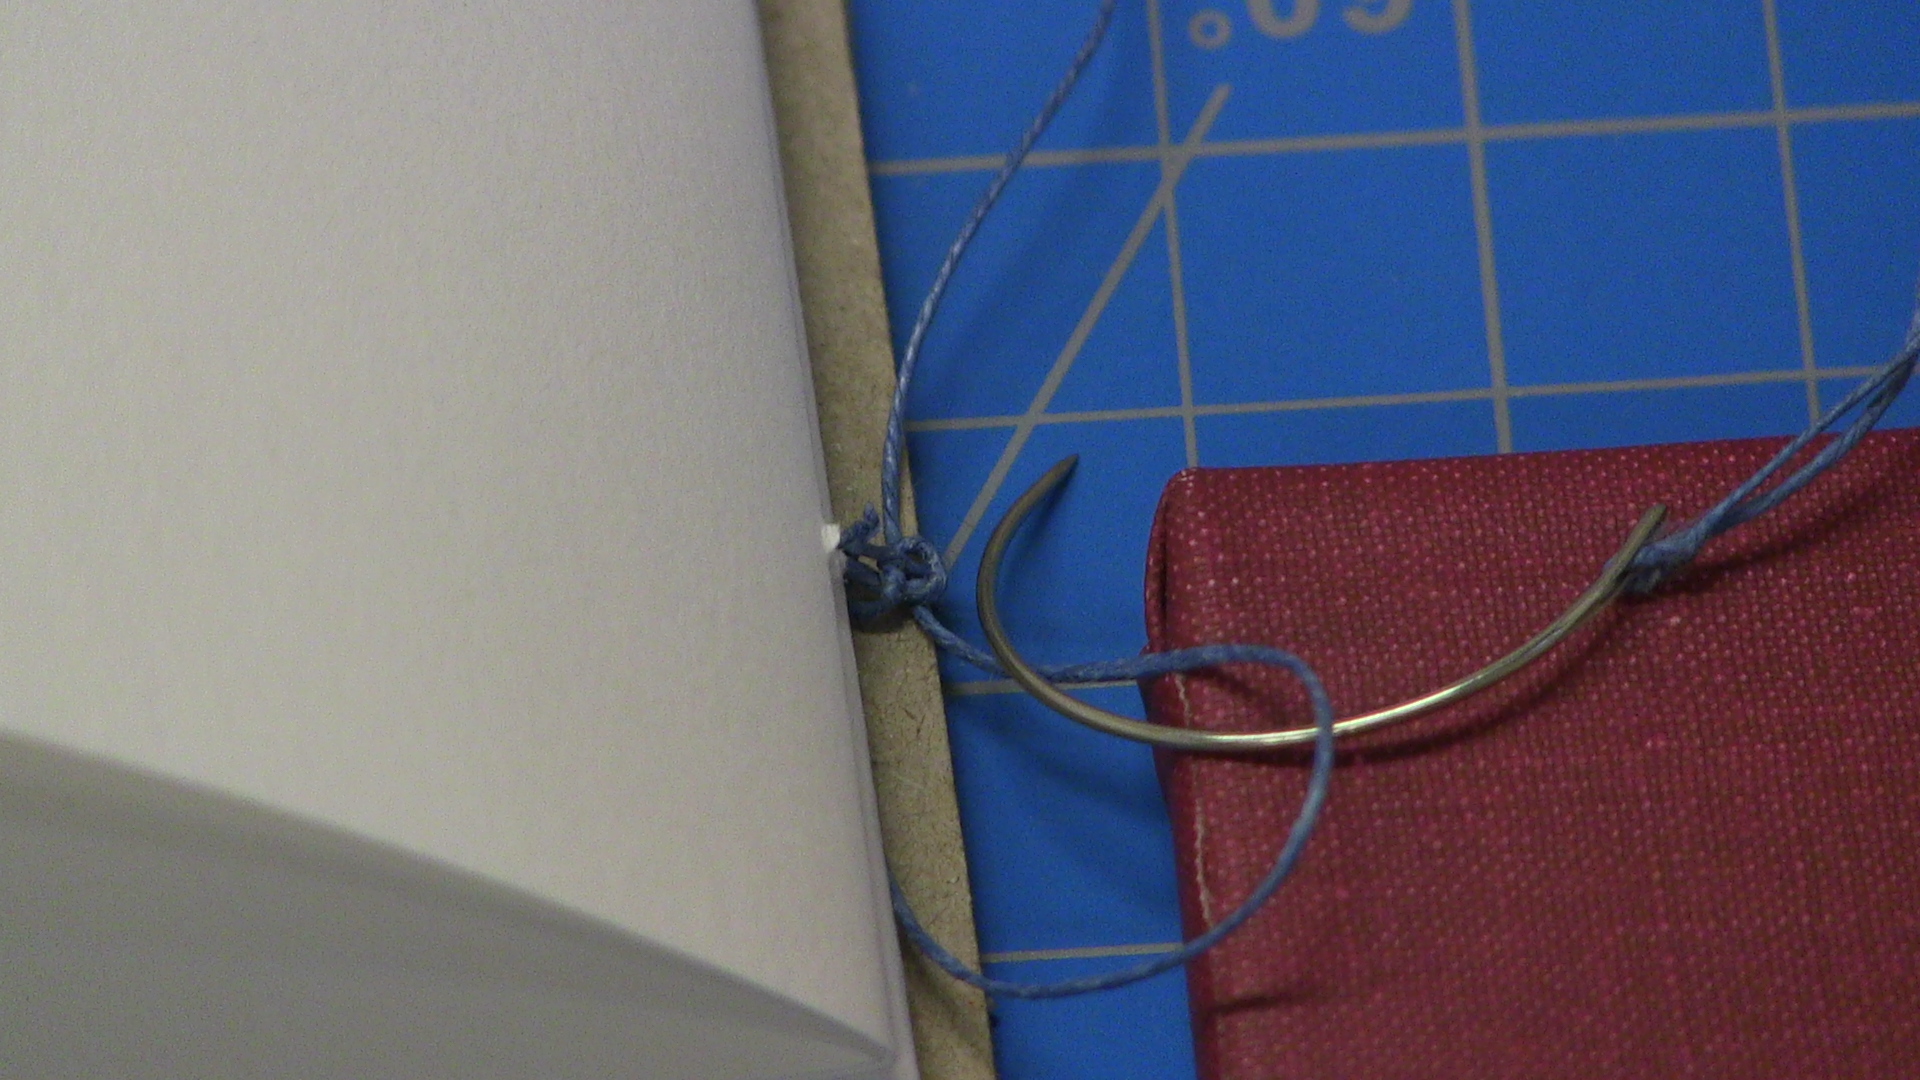
For this stich only, we also thread the needle back through the loop that was just created.

Pull the needle back through the same hole in the quire of which it came out.
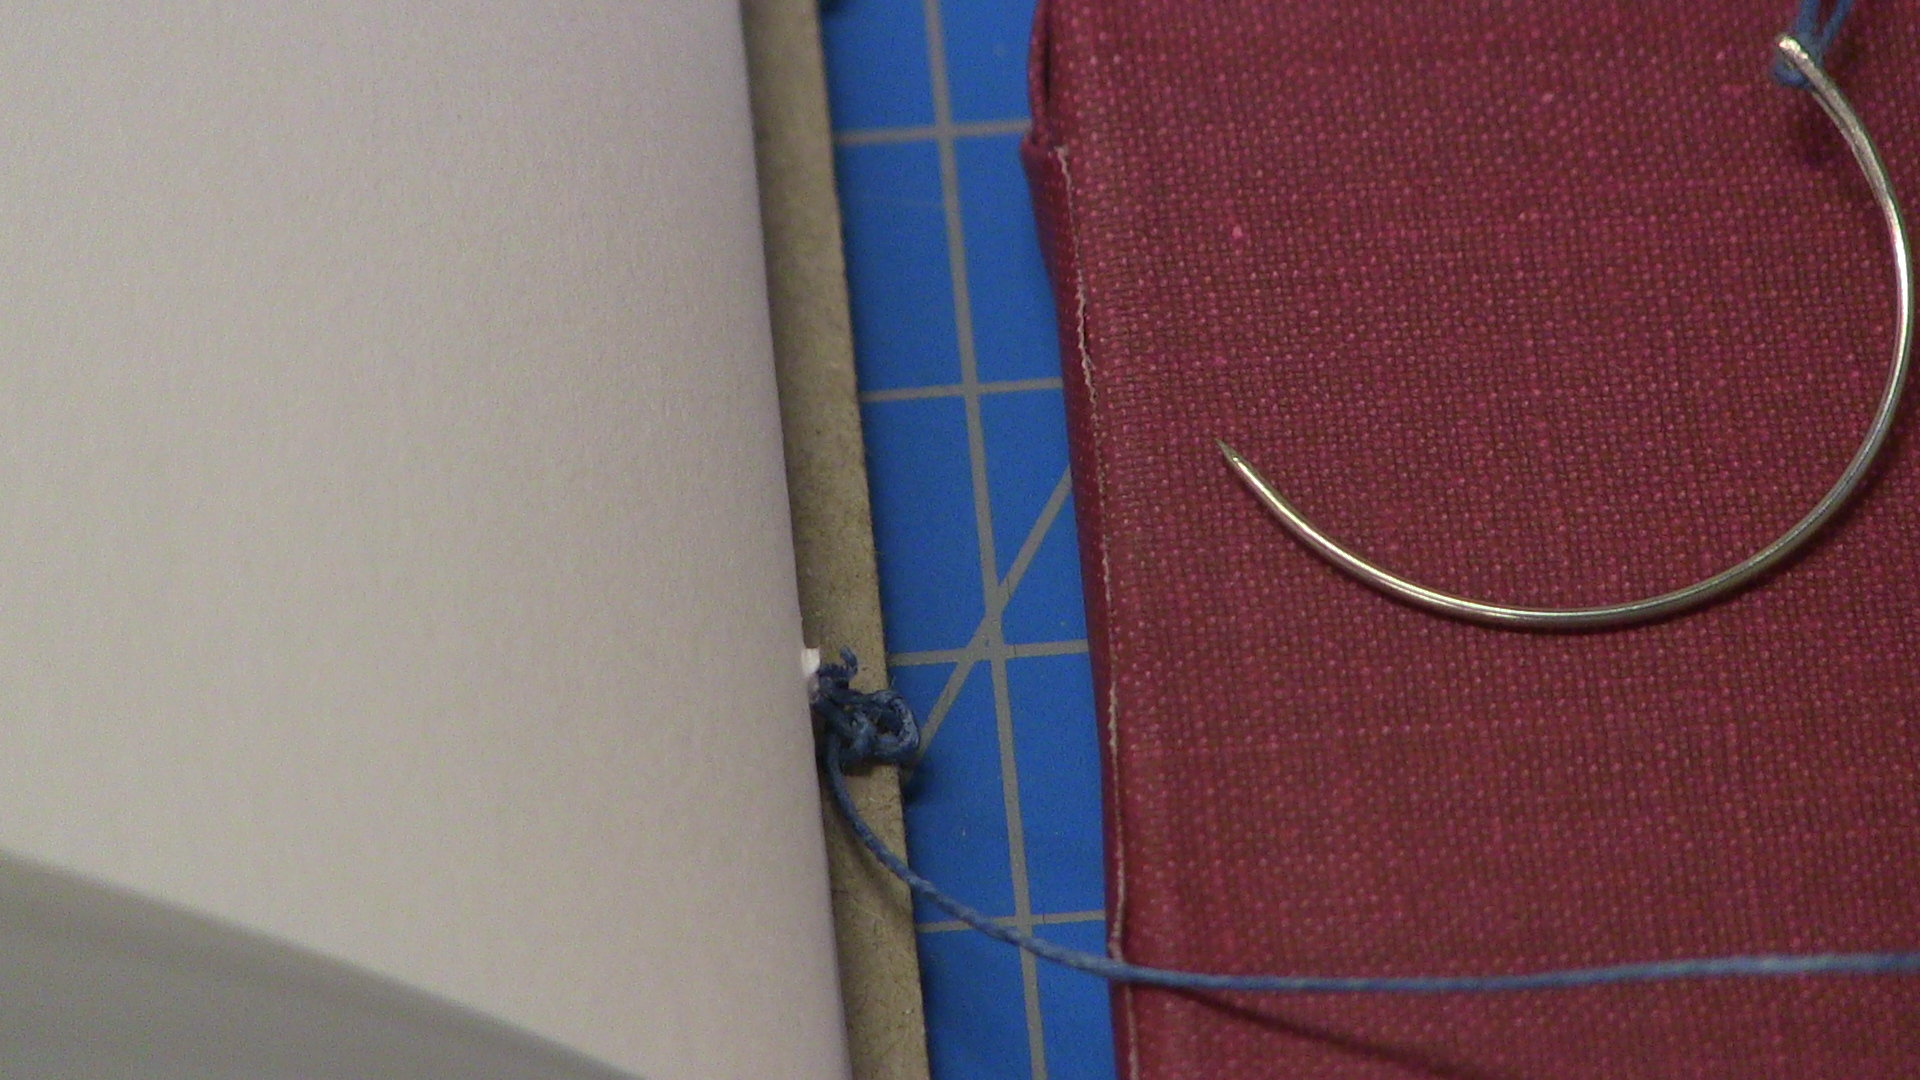
Now pull the thread, so that the loop forms a knot.

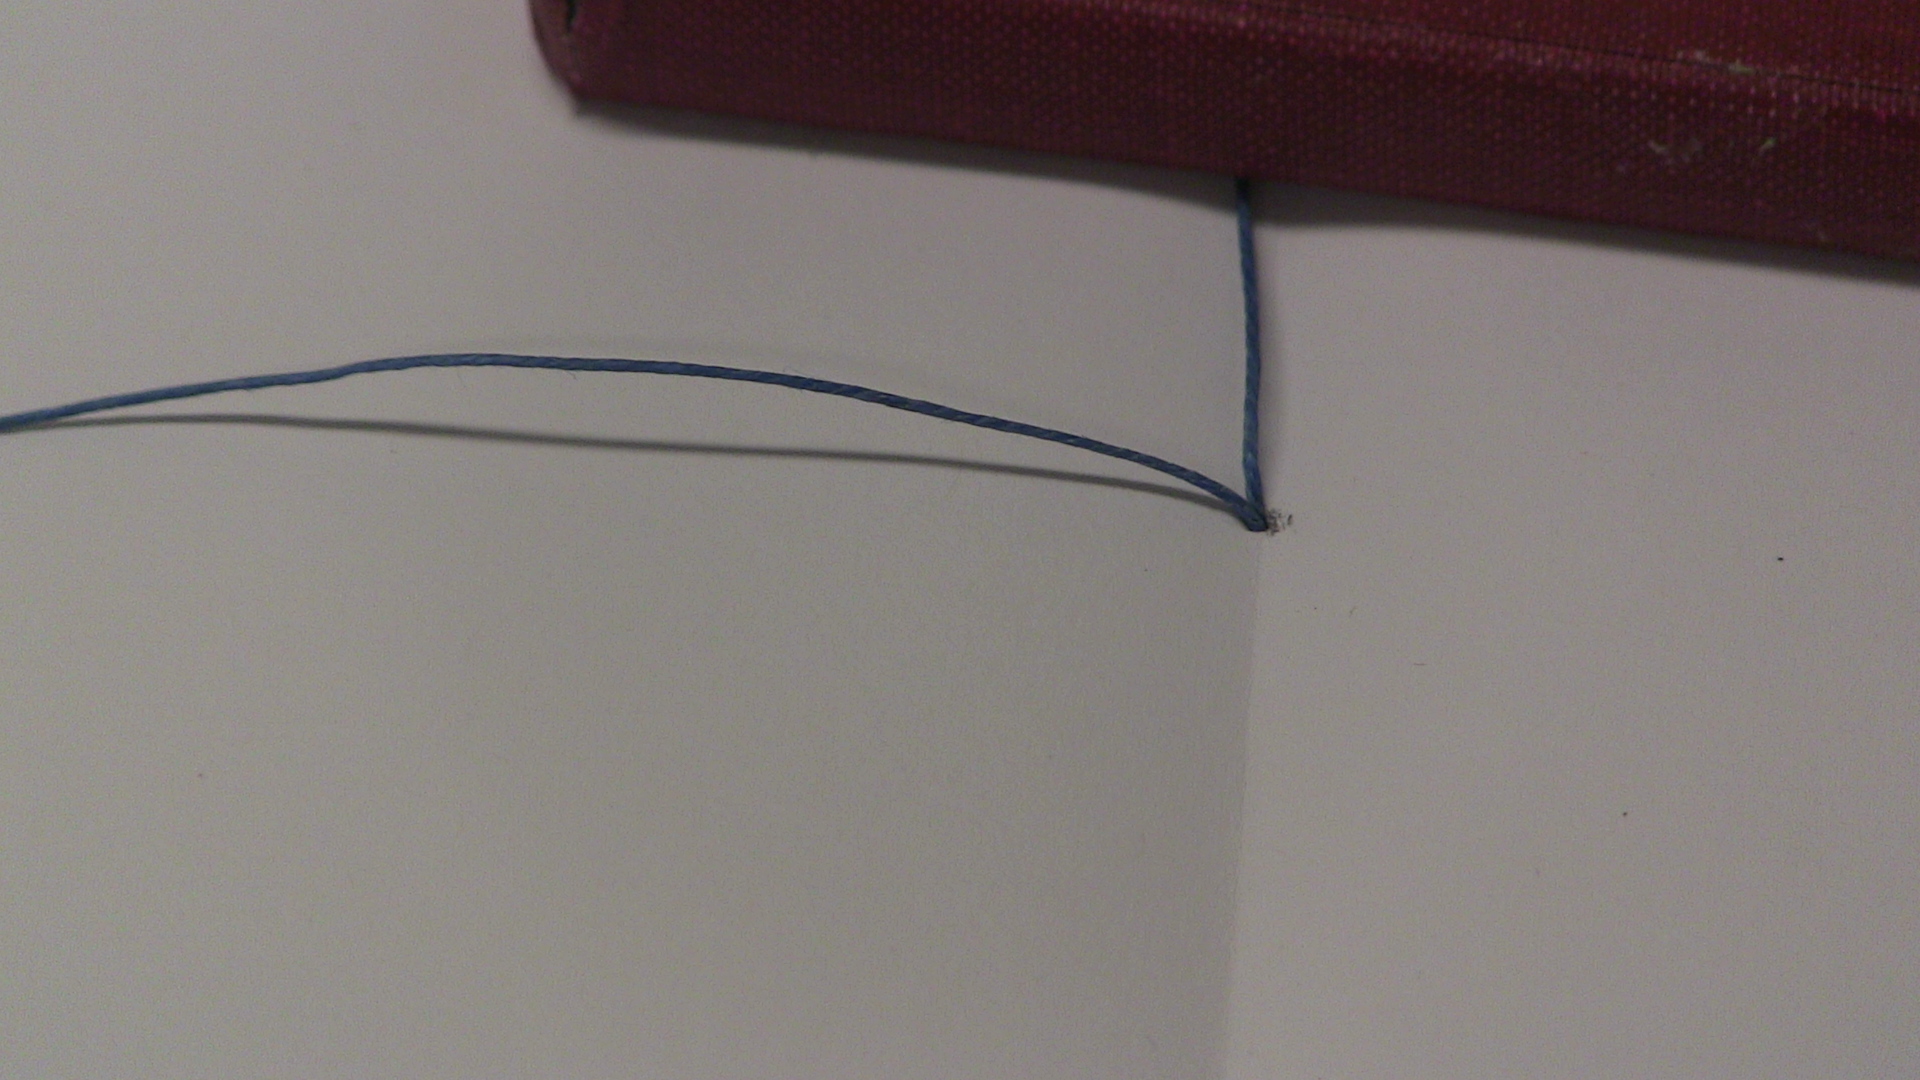
At this point, take the leftover thread in the center of the first quire, and tie a knot with it.
This will prevent it from sliding out through the hole.

Thread the needle through the next hole up.

Know repeat the same steps: push the needle through the cover.
 Loop around and push through the direction of the next hole (we don't loop again, that was only for the first stich).
 Pull the needle back through the hole in the quire that it came out of, and pull taut.


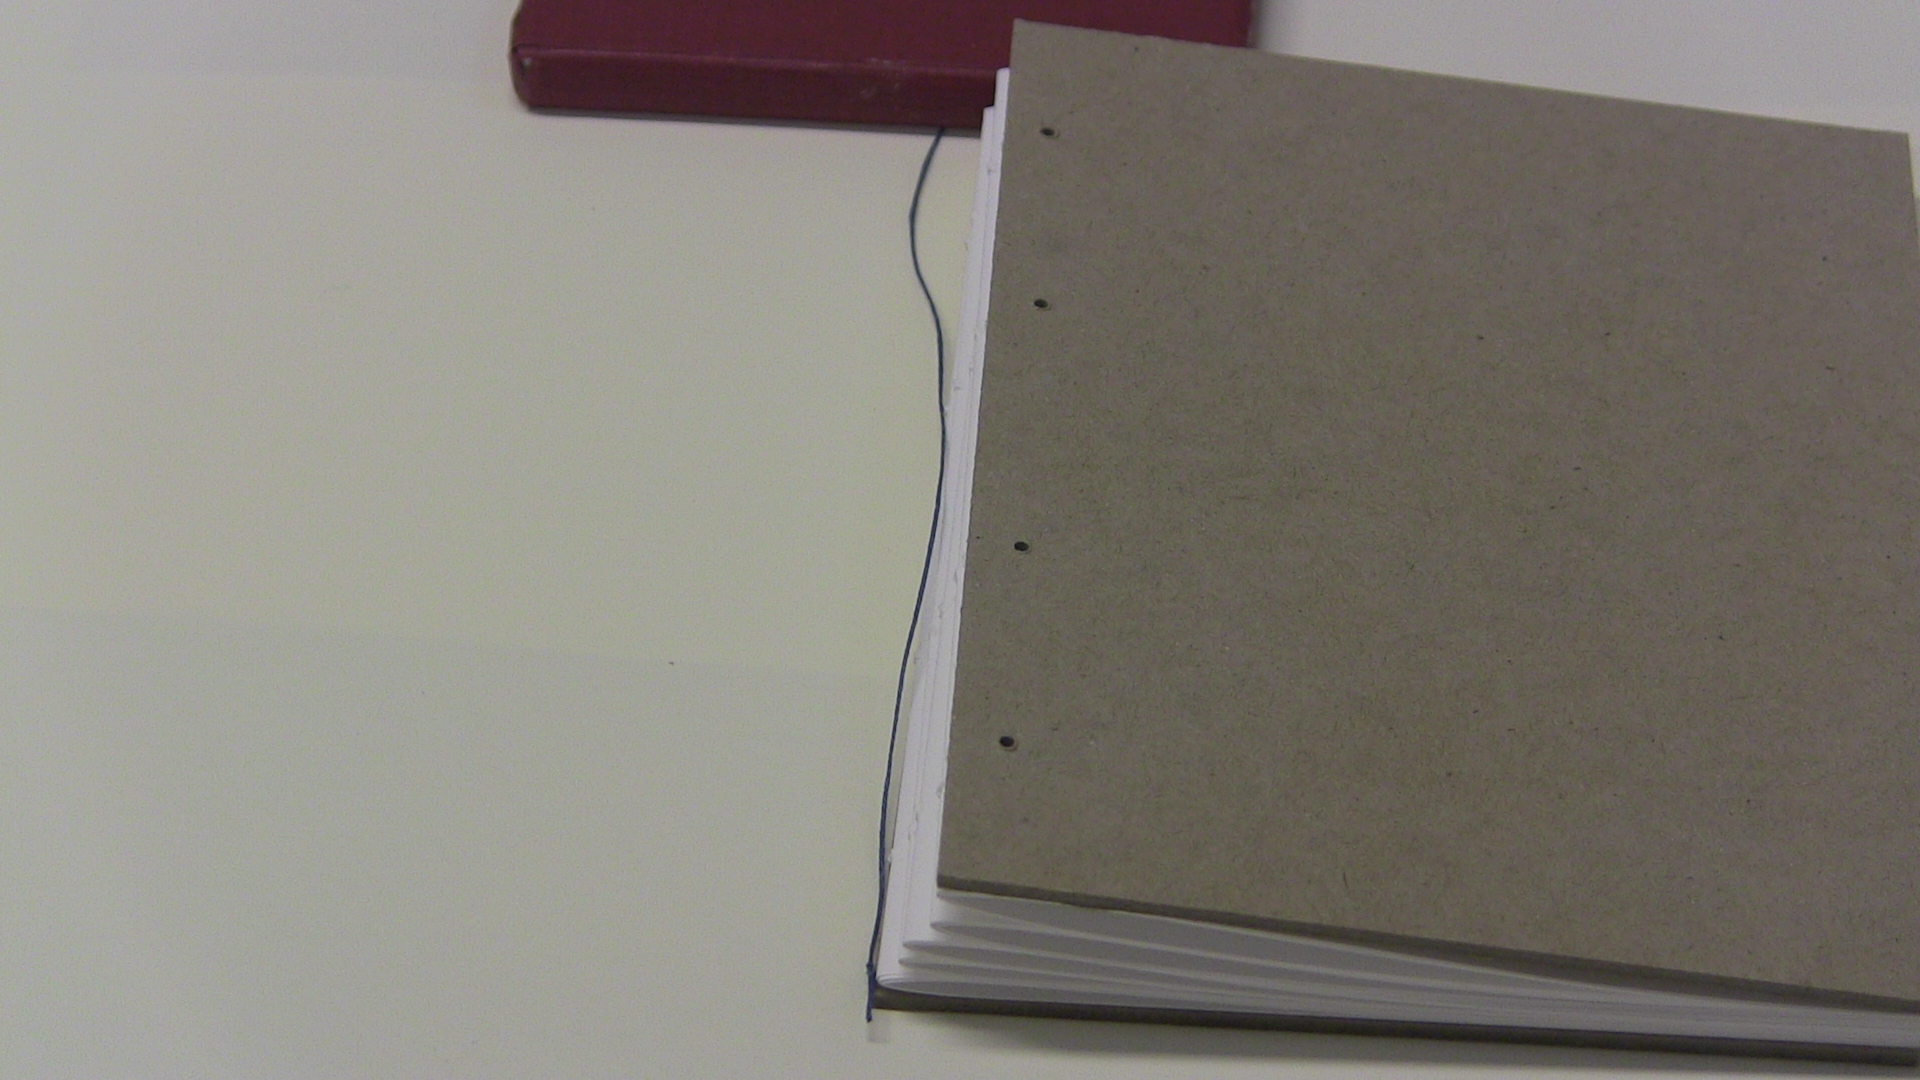
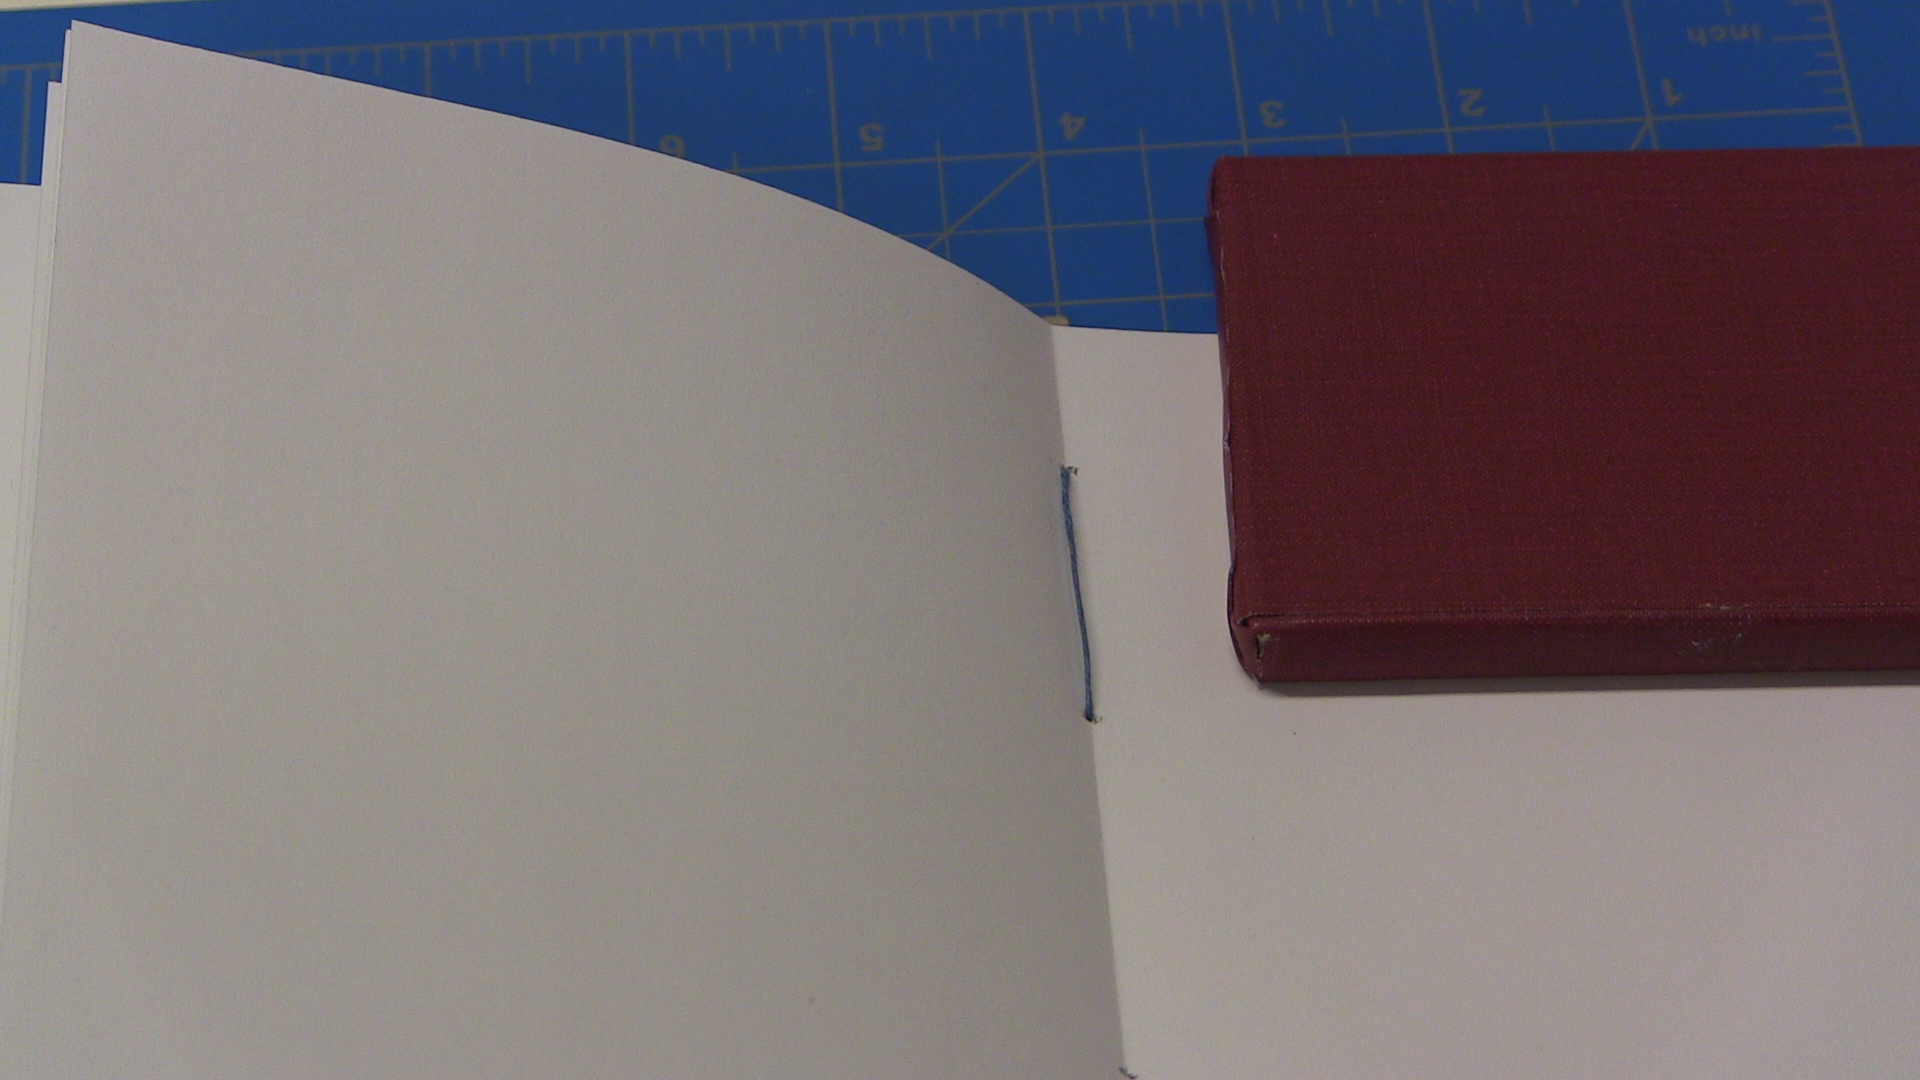
Repeat these steps until right before the last step for the last hole of the quire.
What you have should looking something like this:

Step 4: Attaching additional quires
Take the next quire you want to add, and place it so that its front is against the back of the quire you just added.

Now pull the thread through the corresponding hole in the next quire.

Pull the thread through the next hole.
Now pull the thread through the gap of the current quire and the one immediately before it, again going in the direction of the next hole.

Pull the thread back through the hole it left, and pull taut.
Repeat these steps for all but the final hole.
When you reach the last hole of the quire, pull the thread through, and loop around as before
Now instead of going back in we will make a kettle stitch to make sure the ends stay tight.
To do this, send the thread back through the gap it came through, making sure to leave a loop.
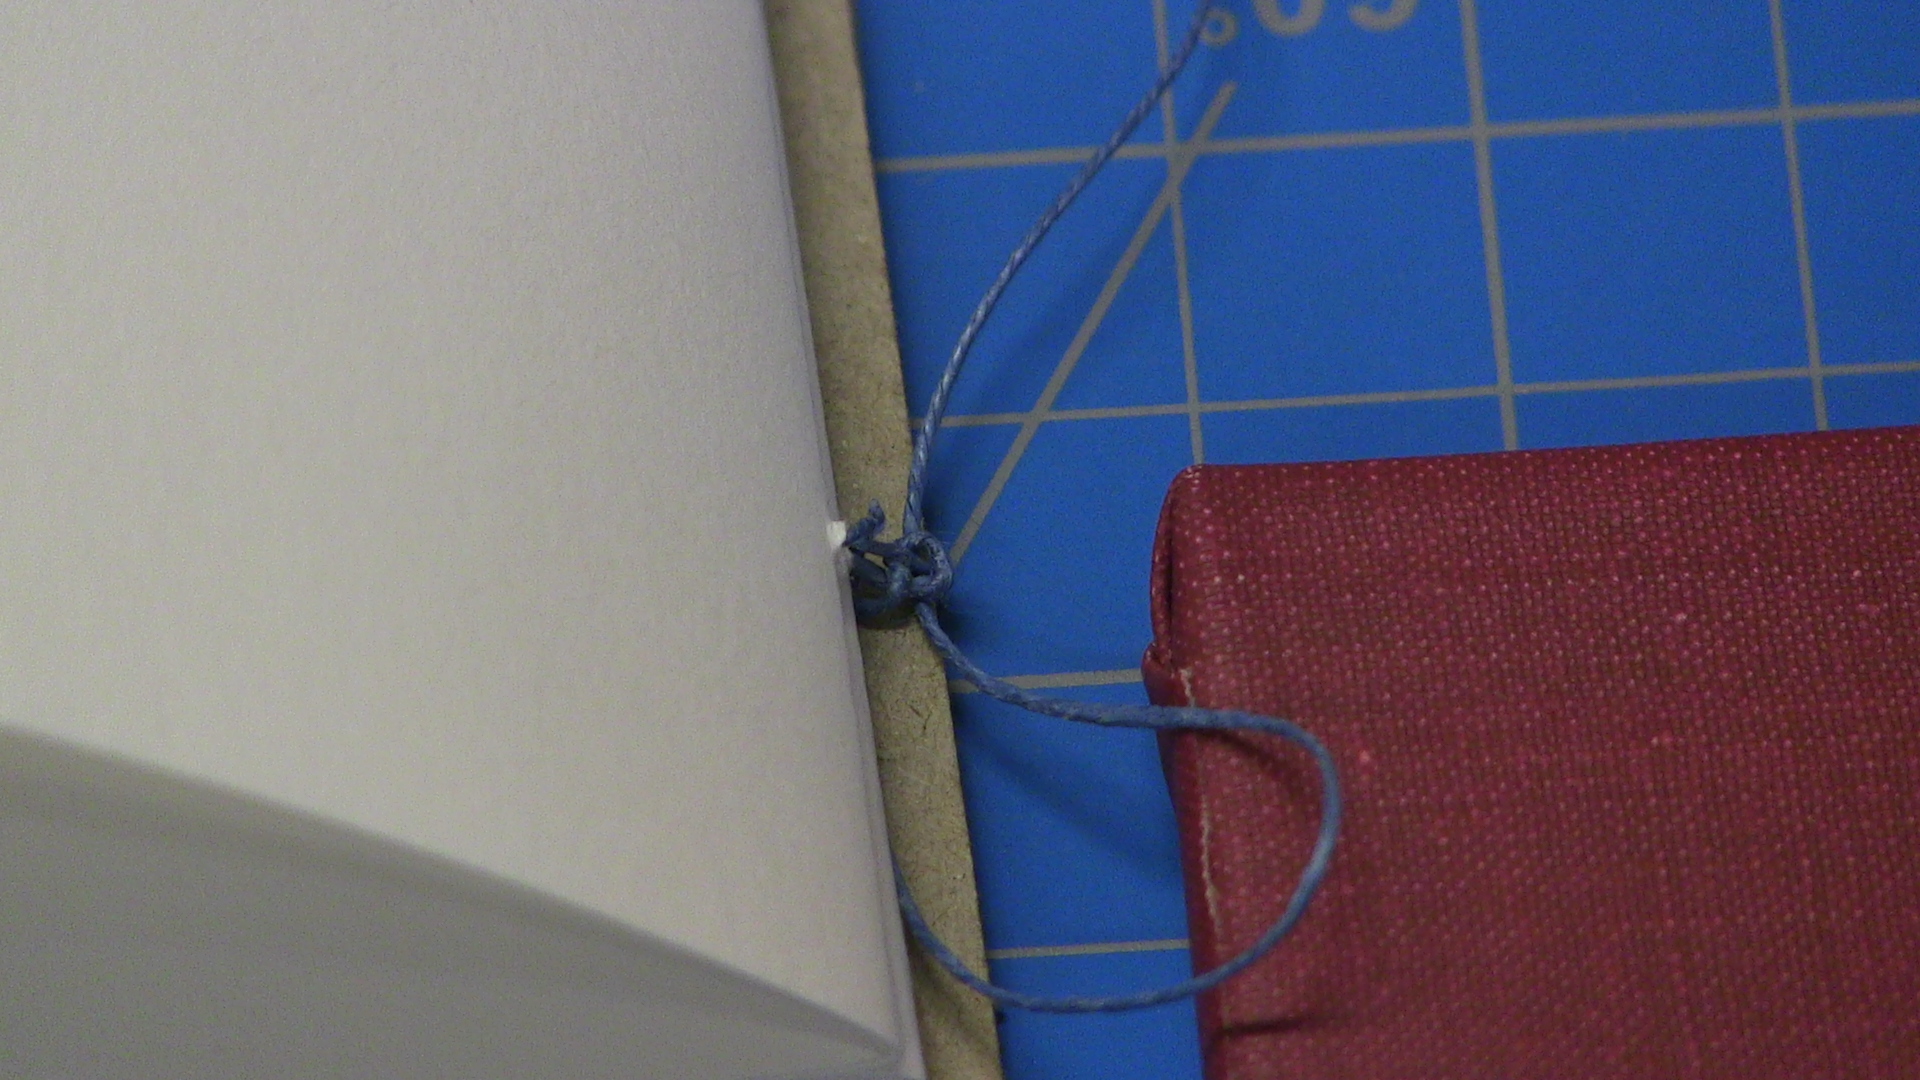
Now pull the thread through the new loop
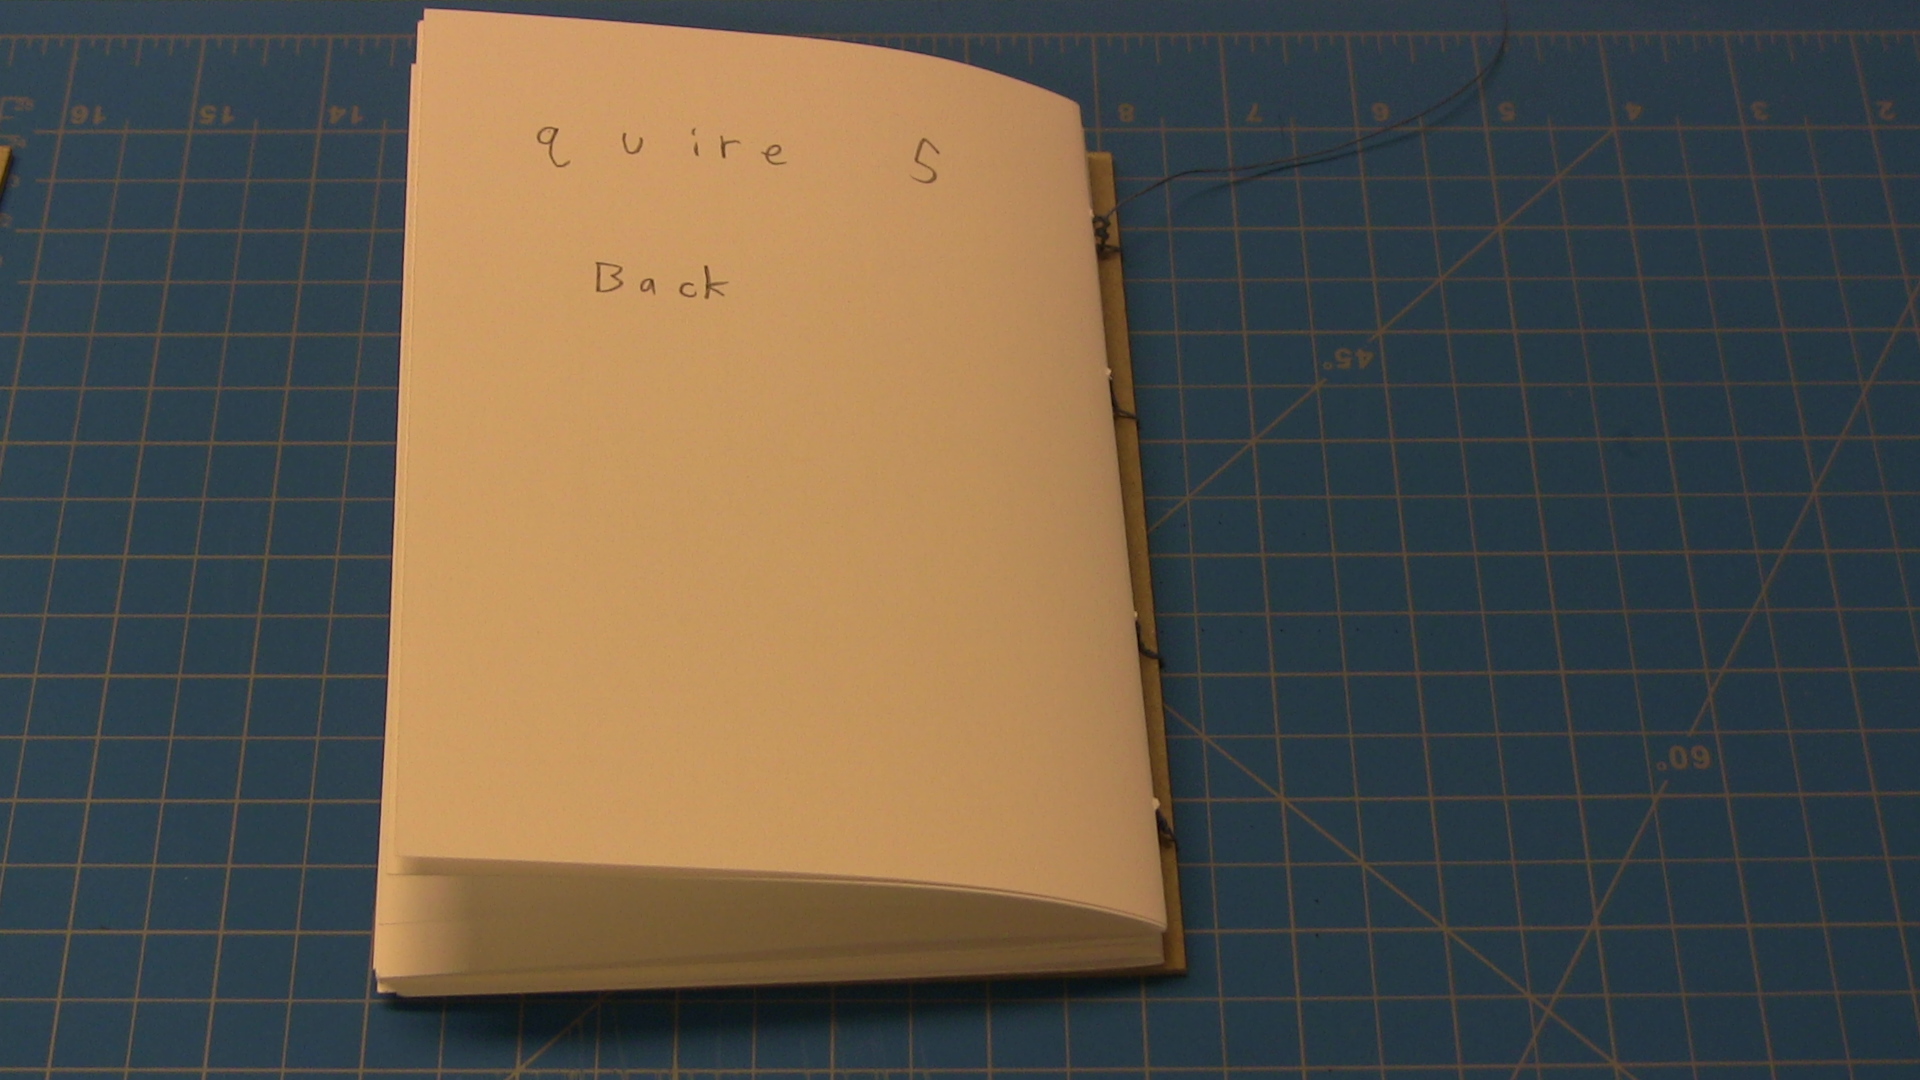
At this point if you have another quire, you repeat all the steps in this section.

Otherwise you are ready to attach the back cover.
Step 5: Attaching the back cover
At this point, all your quires should be attached.
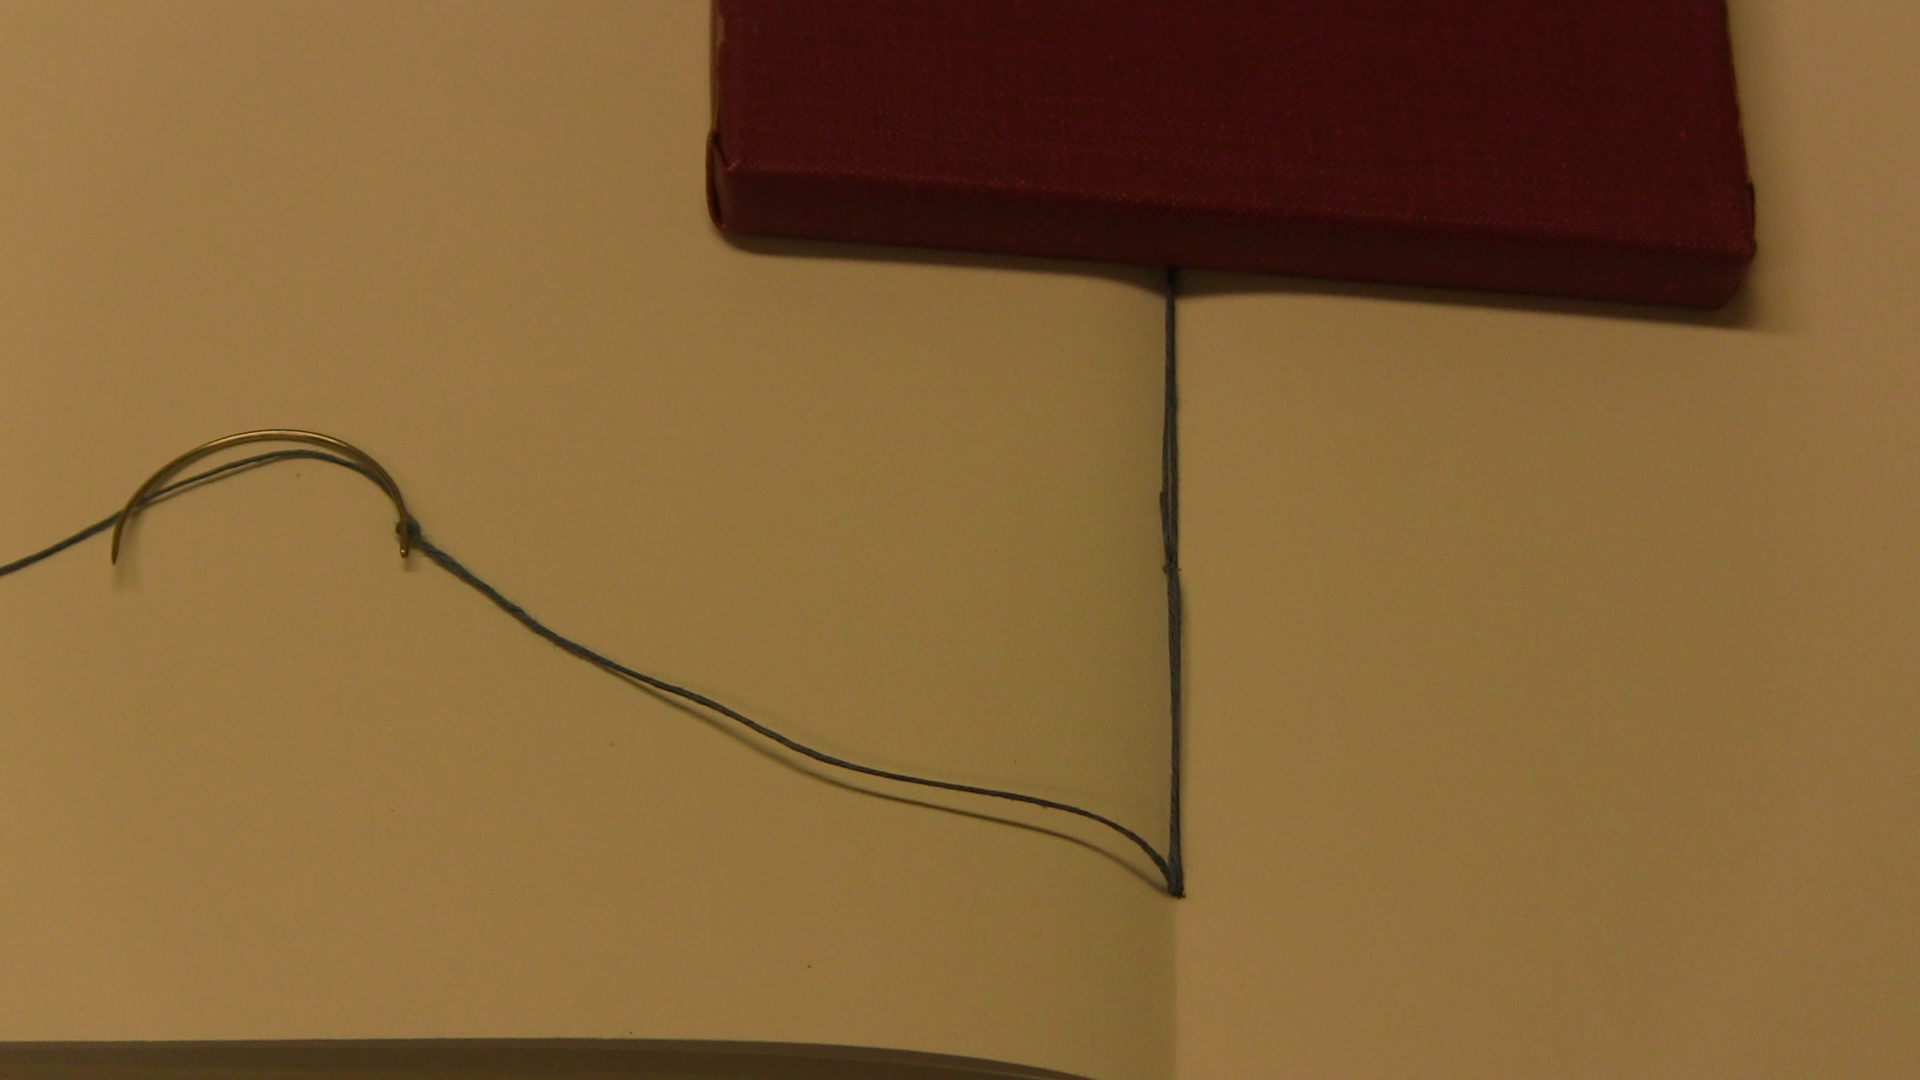
Now place the back cover of top of your last quires aligning the holes.

Now thread the needle up through the corresponding hole in the cover

Now send the needle through the just created loop in the direction of the next hole.

Now pull the thread back through the hole we just came out of in the last quire (this is the third time we have done so.)

Pull taut, and send the needle through the next hole in line.
Repeat, until you have returned to the center of the quire through the last hole.
Now tie a finishing knot so that the thread doesn't slide through and cut of the remainder of the thread.

Step 6: Admire your work (optional)
You are finished.
You can now write in your codex if you haven't already.


Real Codices
Although many old codices have spins covering the stitching, here are some photos of codices:
Here the binding is cured and fits snugly with the cover.

Here, the binding is also curved, but has began to seperate form the cover.

Here is a binding in which the stack of pages is kept straight.

Here we have a book of hours from France made in 1440.
Notice how much more colorful it is, even from the side.
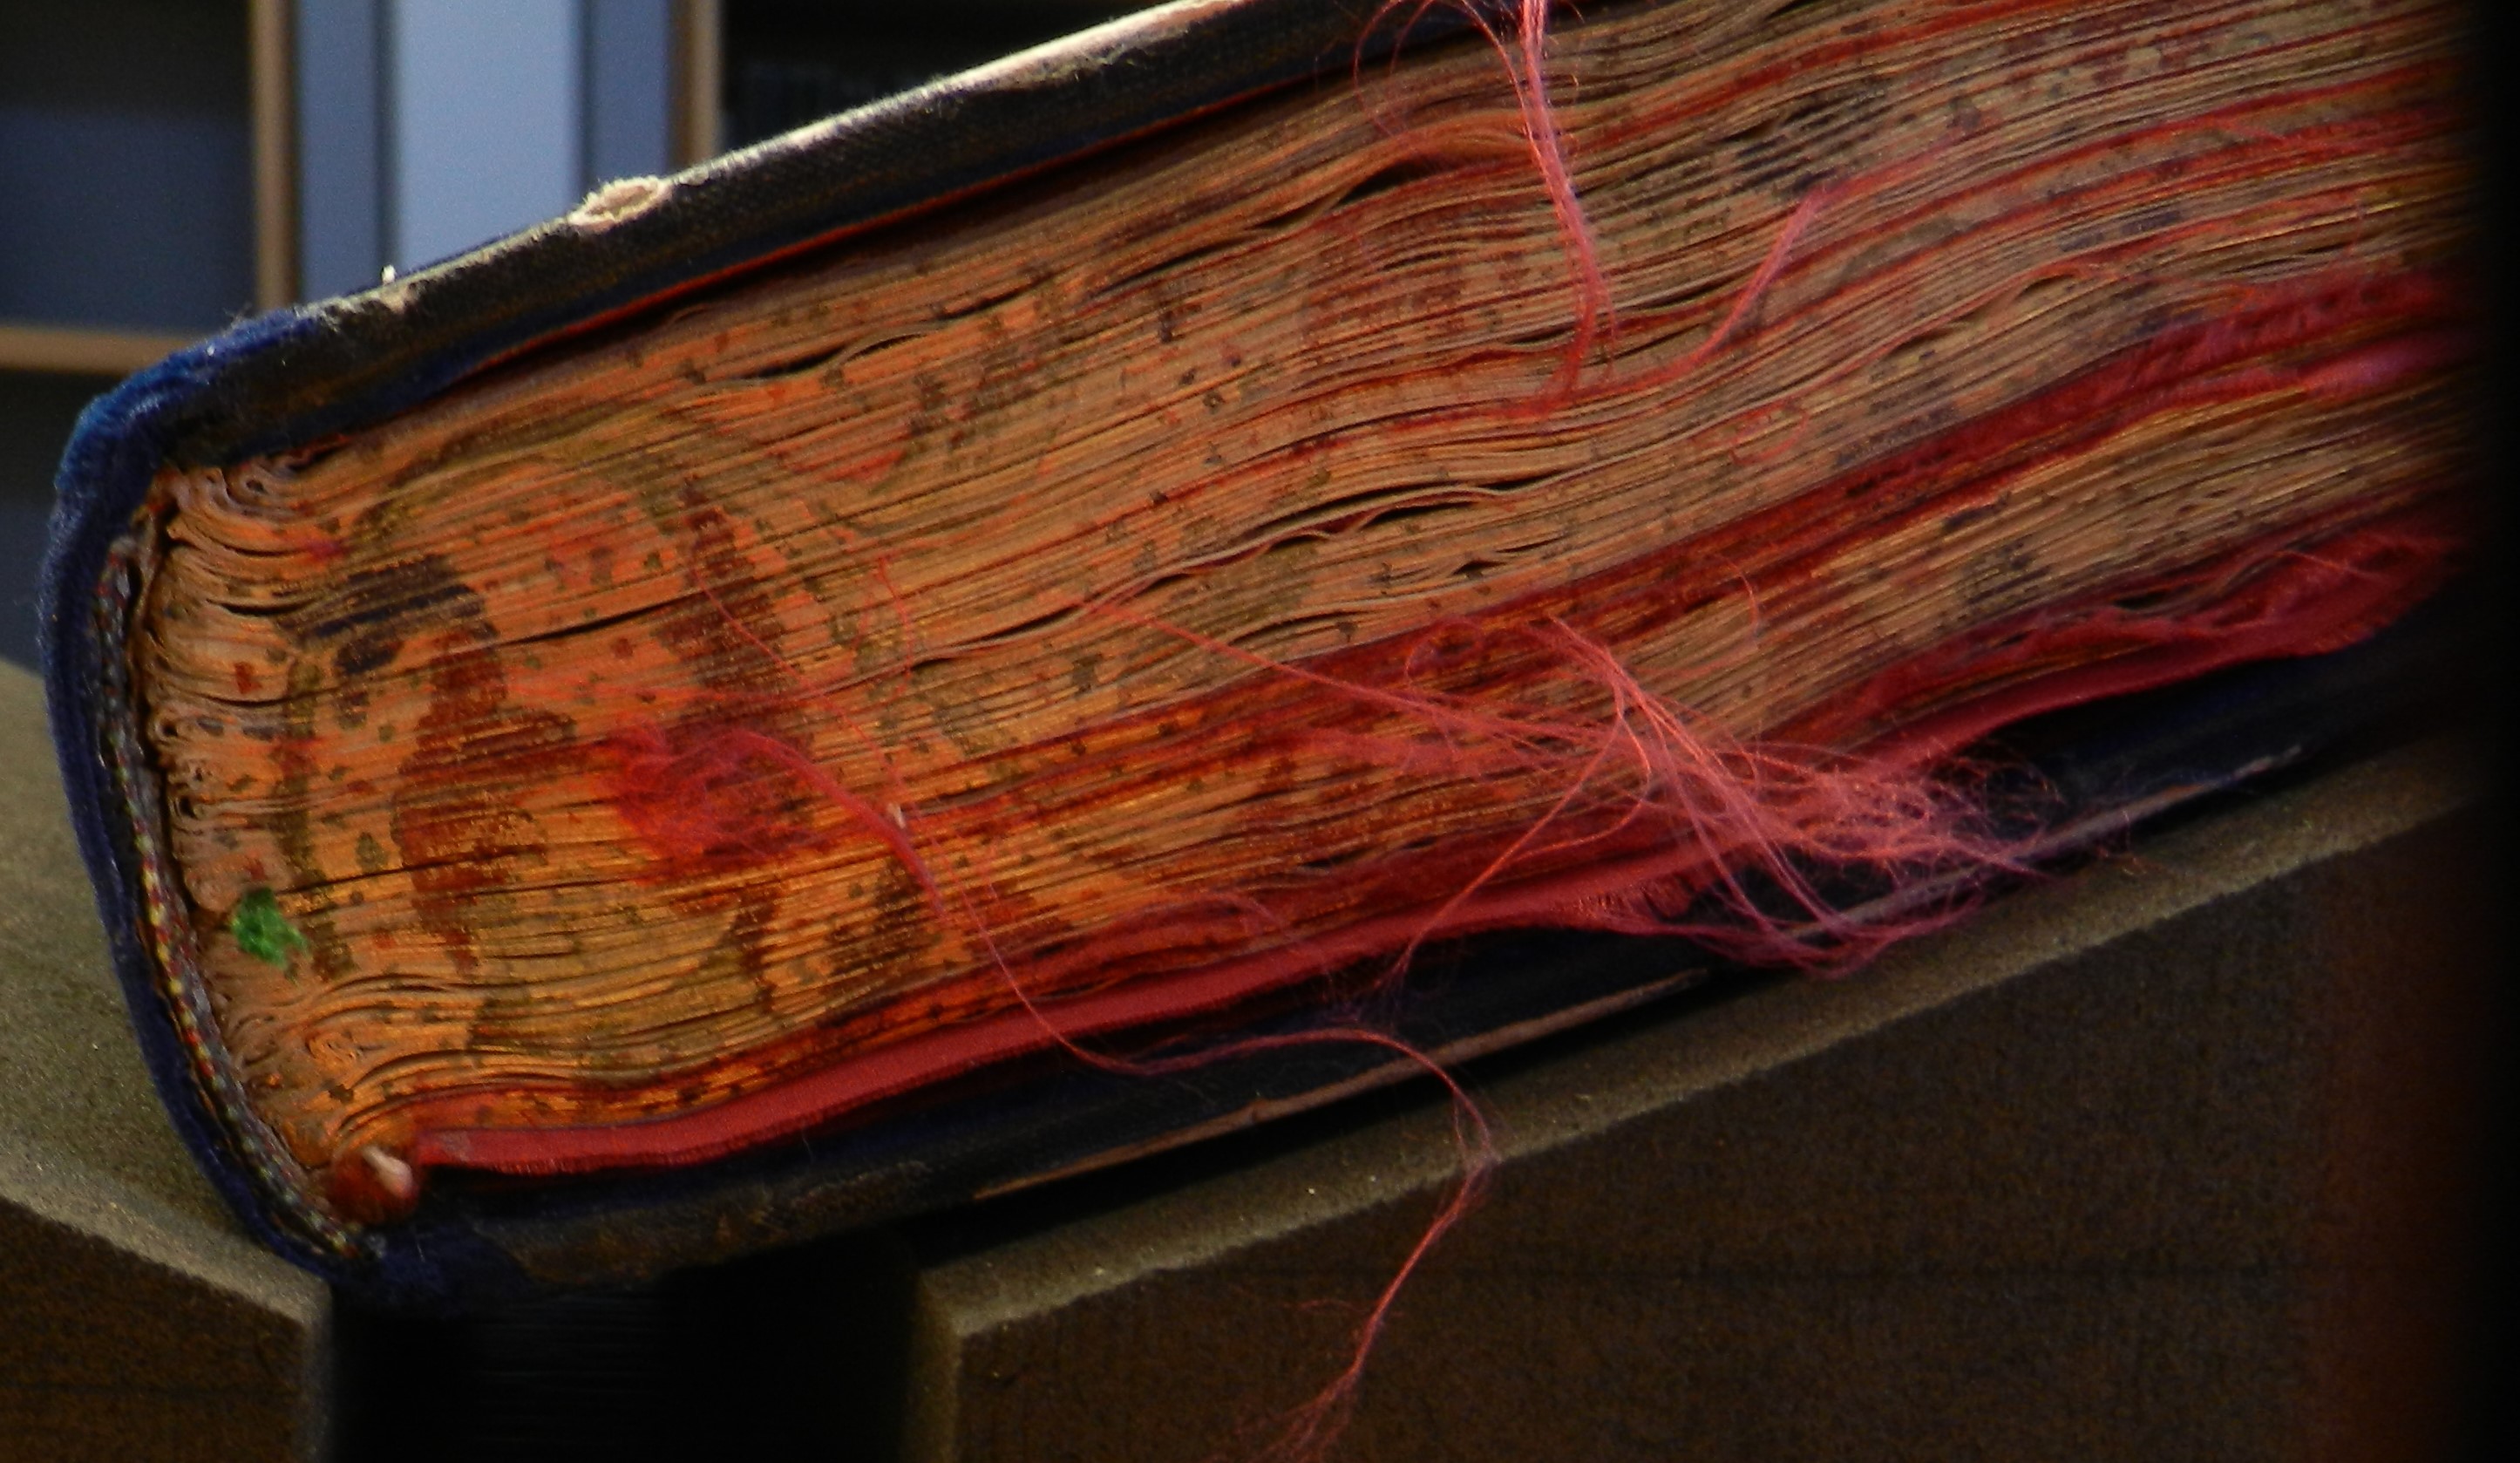

Here we se that the binding has kept the back straight.

Other resources
The binding we used was not the only binding to be used to bind codices together.
If you want to learn more about these bindings and how codices were actually made, introduction to manuscript studies is a great reference (see below for details).
If you want to learn more about the historical background of the multi-quire codex check out this page: Historical Background
Although we used paper, such codices would be made out of Parchment.
You can read more about parchment here: Parchment
In order to get nice alignment of text of every page, scribes would use a process called pricking and ruling to make a document look nice.
For an extra challenge you can do this with your own pieces of paper before binding them into a codex.
To learn how to do it, check out this guide: Pricking and Ruling
Bibliography
Clemens, Raymond, and Timothy Graham. Introduction to Manuscript Studies: Raymond Clemens and Timothy Graham. Ithaca: Cornell University Press, 2007. Web.
Great article!
yay. whoever posted this article, I LOVE YOU!!!!!!!!!!!!!!!!!!!!!! Derek getting all crafty now. thank you guys
Pingback: Rex Codex: Why did Christians prefer the codex over the scroll? – Introduction to the New Testament