By examining the distinct usage of Canvas course tools, the organization of navigation items, and the structure of course content, we categorized Canvas course design strategies into seven models:

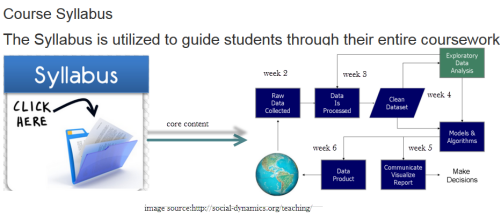
 Syllabus_based design: The Syllabus tool is used to list a topical outline of the course content and to communicate to students exactly what will be required of them throughout the course in chronological order. This design facilitates posting course descriptions, class guidelines, weekly reminders and assignments information. |
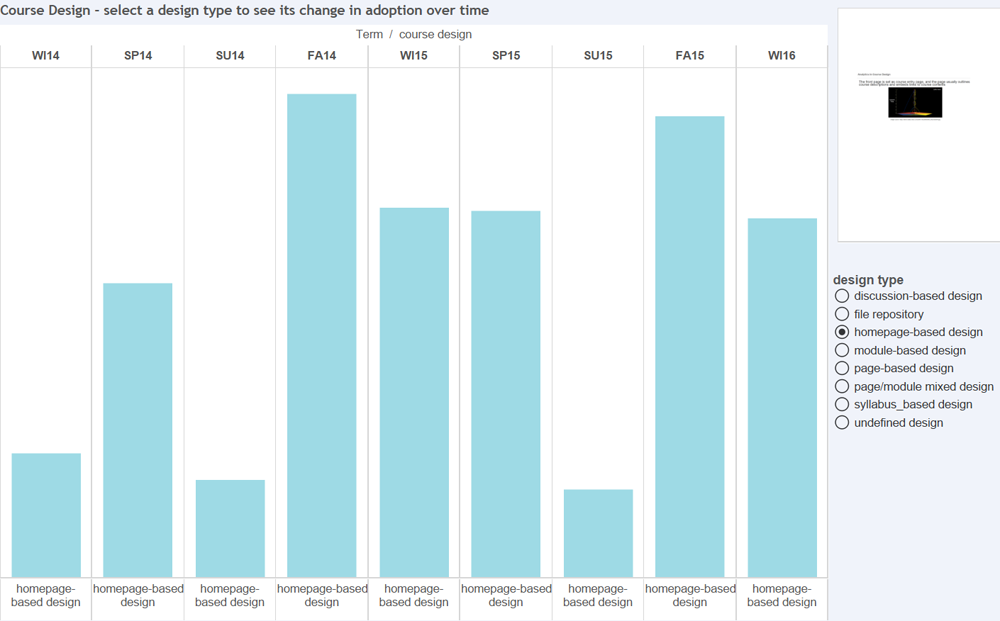
 Homepage_based design: This design presents a front page usually including a course outline and links to course activities. This page could be a wiki page or the Syllabus tool. Other navigation links are typically hidden from student view. Homepage_based design: This design presents a front page usually including a course outline and links to course activities. This page could be a wiki page or the Syllabus tool. Other navigation links are typically hidden from student view.
This design is useful for courses that have a specific workflow by providing a central page that helps students understand how they can navigate through the course. |
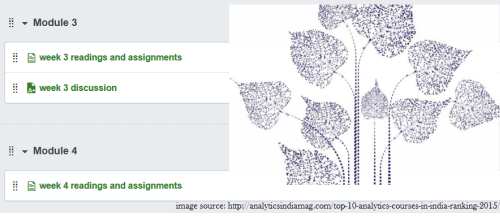
 Module_based design: The design utilizes the Module tool to outline the sequence of course content and course activities. The Pages link is usually disabled from student view. Module_based design: The design utilizes the Module tool to outline the sequence of course content and course activities. The Pages link is usually disabled from student view.
This design is suitable for courses containing sequential activities with possible prerequisites. |
 Page_based design: This design uses the Page tool to list the sequence and structure of course activities. Course files are usually embedded and linked in the content pages. Students use the content pages to guide their coursework. The course instructor can also use Pages as a wiki collaboration tool, setting specific student access for each page. Page_based design: This design uses the Page tool to list the sequence and structure of course activities. Course files are usually embedded and linked in the content pages. Students use the content pages to guide their coursework. The course instructor can also use Pages as a wiki collaboration tool, setting specific student access for each page.
This design facilitates providing descriptions for course content. |
 Page/Module_mixed design: This design utilizes both Page and Module tool to construct course outline and guide students through their coursework. Both Pages and Modules navigation tabs are enabled to allow student access. Page/Module_mixed design: This design utilizes both Page and Module tool to construct course outline and guide students through their coursework. Both Pages and Modules navigation tabs are enabled to allow student access.
This design is suitable for courses contain sequential contents, meanwhile allowing flexibility for students to navigate through the course content. |
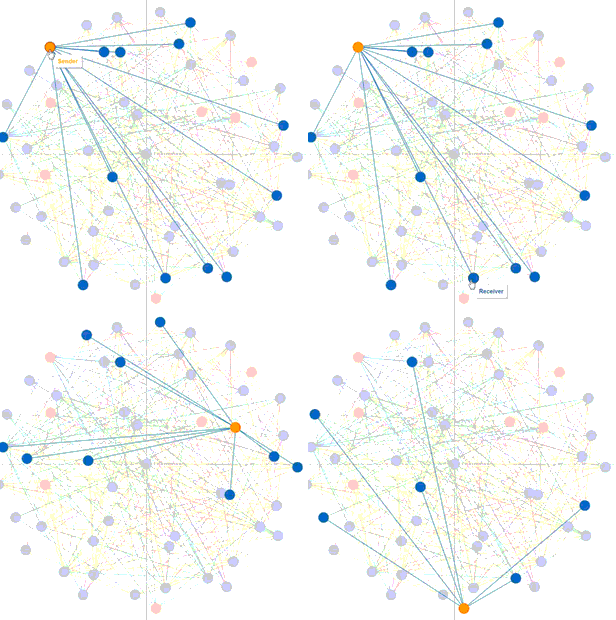
 Discussion_based design: The Discussion tool is utilized to facilitate communication before or after face-to-face classes. Page and Module tools are usually not used in this design. Discussion_based design: The Discussion tool is utilized to facilitate communication before or after face-to-face classes. Page and Module tools are usually not used in this design.
This design may be appropriate for blended learning, helping students to begin thinking about an upcoming assignment or class discussion, or following up on questions that began in a face-to-face classroom. |
 |
File repository: This design utilizes the Files tool to share course documents and syllabi with students, The Pages and Modules tools are not used extensively.
This design is suitable for face-to-face classes that use Canvas mostly for provided documents to students.


